 Save Pin
 Create bakery-worthy English muffins in your own kitchen with this tried-and-true method. These breakfast classics feature perfectly crisp exteriors, tender airy interiors, and those beloved craggy pockets that trap melted butter and jam. The dough requires simple pantry staples and a bit of patience for proper rising, but the result is infinitely superior to store-bought versions. Cook them on a griddle for that signature golden-brown crust, then split with a fork to maximize the nooks and crannies. Perfect for weekend breakfasts, afternoon tea, or meal prep ahead.
My tiny London apartment kitchen had exactly two feet of counter space, which made bread baking feel like an extreme sport. I'd watched my English roommate fork-split store-bought muffins every morning, declaring no knife would ever touch her breakfast. One rainy weekend, I decided homemade versions had to be better than the cardboard ones from the supermarket, and spent an entire Sunday afternoon covered in flour. The smell of yeasty milk and butter filled every corner of my flat, and when that first batch hit the hot pan, I knew I'd never go back to store-bought again.
Last winter, my sister came to visit during a particularly brutal cold snap. We spent Saturday morning in our pajamas, taking turns flipping muffins on the cast iron while snow piled up outside the window. She confessed she'd been intimidated by yeast dough her whole life, but there's something so forgiving about these soft, pillowy rounds. By noon, we had a mountain of golden muffins and had eaten our weight in warm bread with salted butter melting into every crevice.
Ingredients
- Bread flour: Higher protein content than all-purpose gives these their signature chew and structure, creating those coveted air pockets inside
- Whole milk: The milk proteins and fats create a tender crumb and richer flavor than water-based doughs
- Active dry yeast: This is your rising powerhouse, so check the expiration date before you begin
- Granulated sugar: Not for sweetness, but to feed the yeast and help it bloom properly
- Fine sea salt: Enhances all the flavors and helps regulate the yeast activity
- Unsalted butter: Melted into the dough adds richness without overwhelming the delicate yeast flavor
- Cornmeal or semolina: This dusting prevents sticking and adds that classic crunchy bottom coating you expect from English muffins
Instructions
- Wake up the yeast:
- Stir the yeast and sugar into your lukewarm milk, then walk away for 5-10 minutes until you see a frothy layer on top. If nothing happens, your yeast might be dead and you will need to start over with fresh yeast.
- Build your dough foundation:
- Whisk the flour and salt together in a large bowl, making a deep well in the center like a volcano. Pour in the bubbly yeast mixture and melted butter, stirring until a shaggy, sticky mass forms.
- Knead until your arms sing:
- Turn the dough onto a floured surface and knead for 8-10 minutes, or let your stand mixer do the work with a dough hook for 5-6 minutes. You know you are done when the dough is smooth, springs back when poked, and passes the windowpane test.
- Let it rise:
- Place the dough in a lightly oiled bowl, cover it with a clean towel, and find the warmest spot in your kitchen. Wait about 1-1.5 hours until it has doubled in size, which feels like magic every single time.
- Shape and size:
- Punch down the dough gently and roll it to about 3/4 inch thickness. Use a 3-inch round cutter to cut circles, then gather and reroll the scraps until you have about 8 muffins.
- The cornmeal trick:
- Dust your baking sheet with cornmeal or semolina, place the muffins on top, and sprinkle more cornmeal lightly over the tops. Cover them and let them proof for 25-30 minutes until they look puffy and slightly risen.
- Cook to golden perfection:
- Heat your skillet or griddle over low-medium heat and grease it lightly. Cook the muffins for 7-9 minutes per side, flipping once, until they are deeply golden and the inside reaches 200°F.
- The fork technique:
- Let them cool on a rack, then use a fork to split them horizontally rather than cutting with a knife. This preserves all those beautiful nooks and crannies you worked so hard to create.
 Save Pin
 My neighbor texted me one morning asking what smelled so incredible, and I ended up bringing over a warm muffin fresh from the pan. She called me an hour later to say she had just eaten three in a row with nothing but salted butter, standing at her kitchen counter in her bathrobe. Sometimes the simplest breakfasts are the ones that become memories.
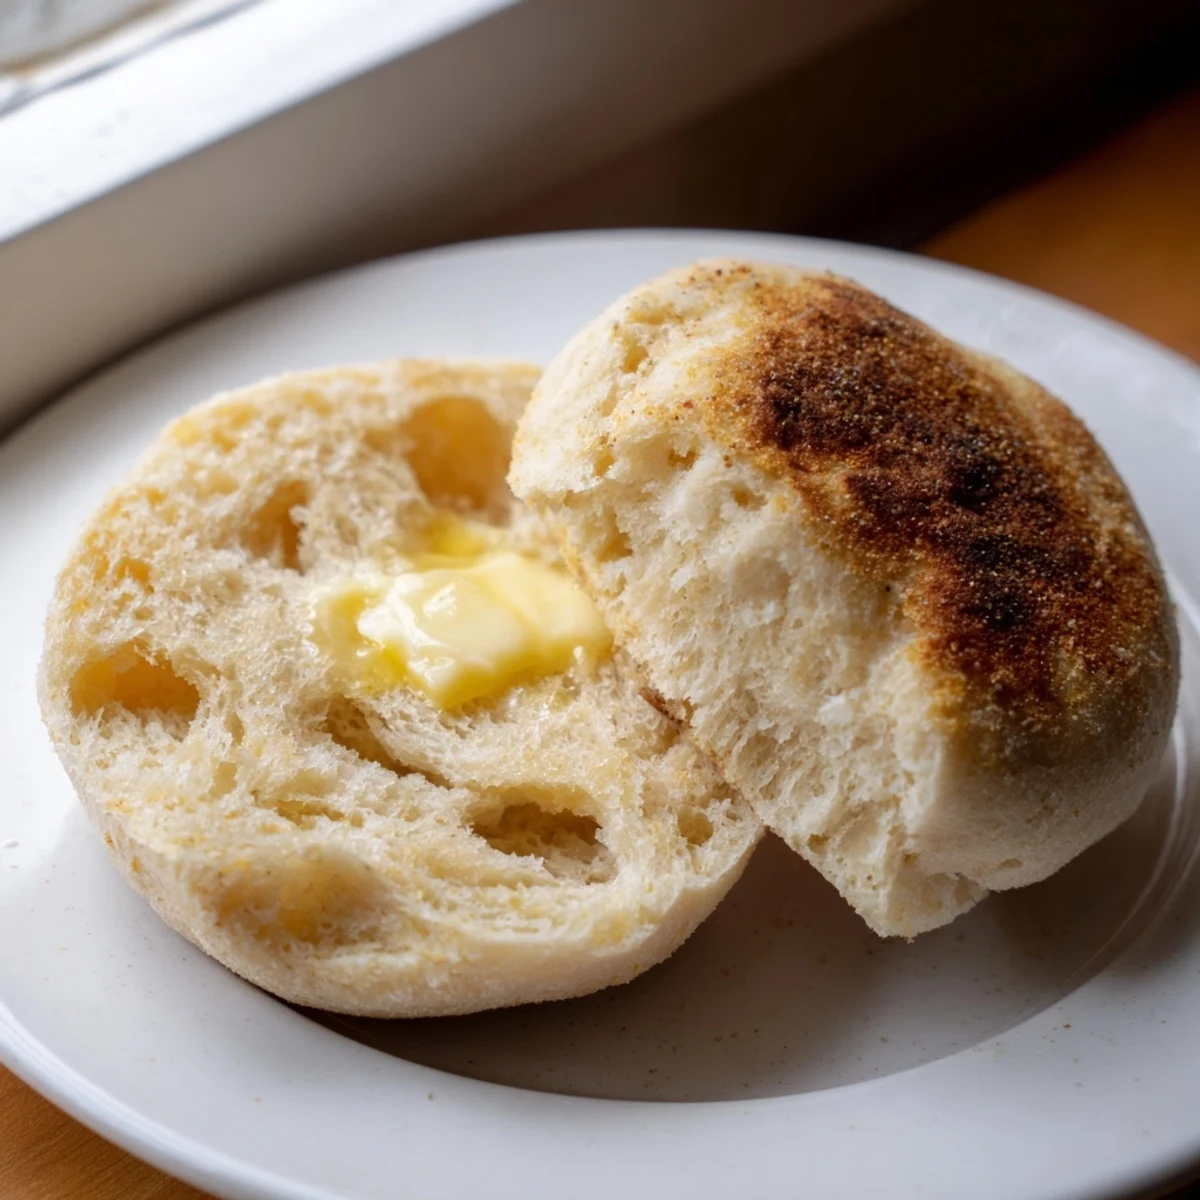
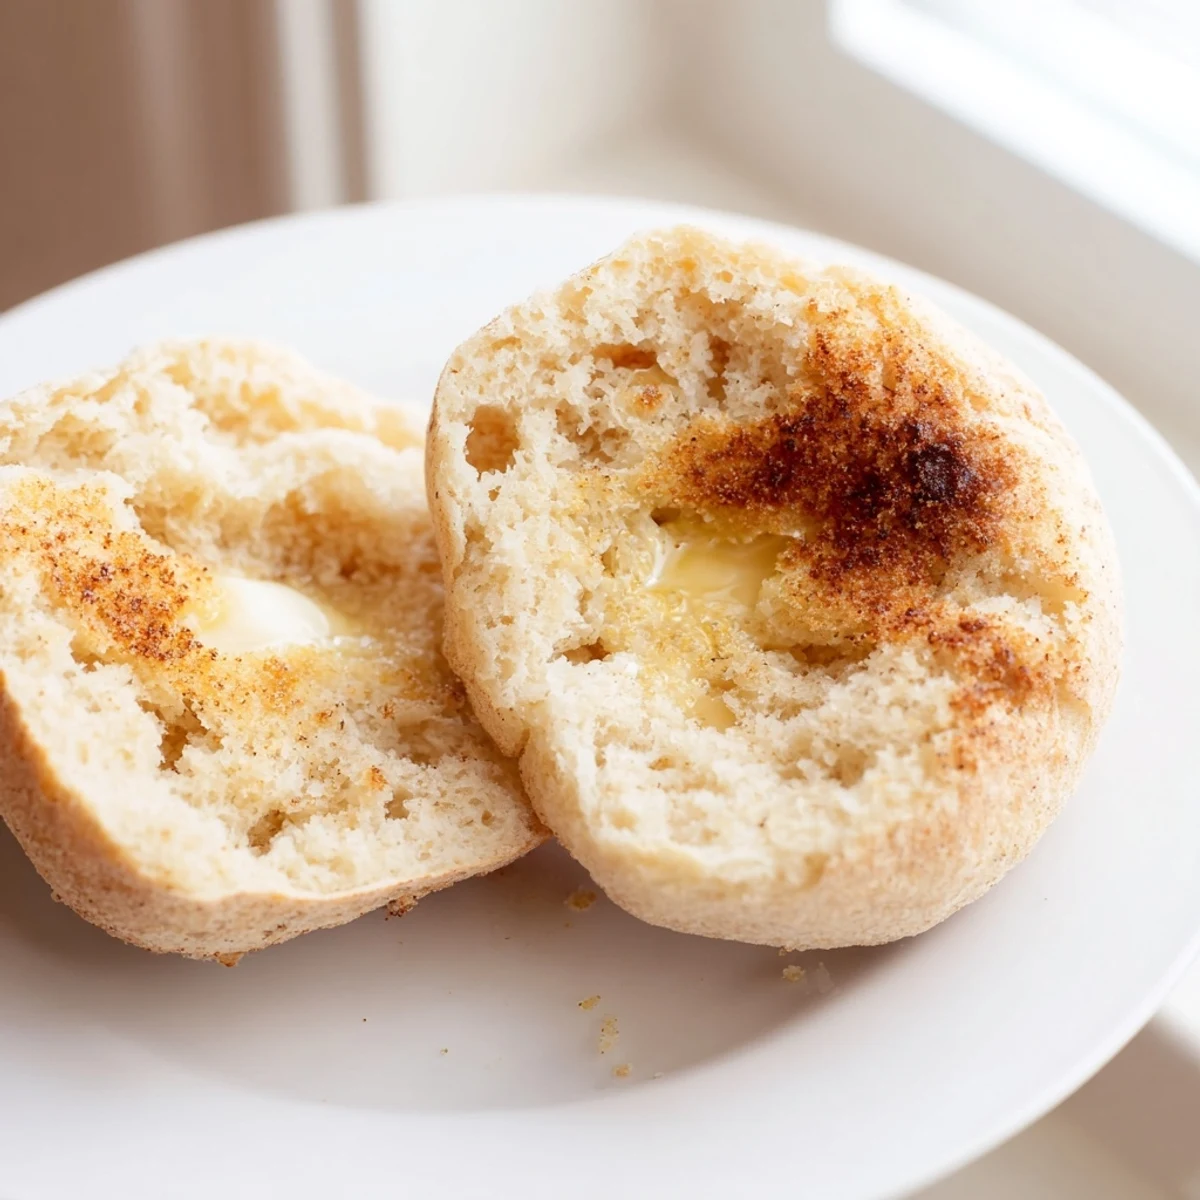
The Fork Split Secret
Using a fork to split your muffins instead of a knife is not just tradition, it is essential for maximizing those butter-holding crevices. Insert the tines around the edges and work your way around, pulling the halves apart gently. This creates that rough, irregular surface that makes English muffins so perfectly suited to melting butter and jam.
Perfect Pan Temperature
I ruined my first batch by cooking them over high heat, burning the outsides while leaving the centers raw and doughy. Low-medium heat gives the muffins time to cook all the way through without scorching the exterior. If you find the bottoms are browning too quickly, reduce the heat even further and be patient.
Storage and Make-Ahead Magic
Fresh English muffins are heavenly, but having a stash in the freezer will transform your weekday mornings. Wrap cooled muffins individually in plastic wrap, then freeze them in a freezer bag for up to two months. Pop frozen ones directly into the toaster for a breakfast that tastes like you just made them.
- Add raisins or a pinch of cinnamon to the dough for a sweet version
- Use plant-based milk and butter to make these completely vegan
- Serve them as the base for eggs Benedict for a truly impressive brunch
 Save Pin
 There is something deeply satisfying about making bread that feels fancy but is actually quite straightforward. Once you taste your first homemade English muffin, warm from the pan and dripping with butter, you will understand why this recipe is worth every minute.
Recipe FAQs
- → Why should I split English muffins with a fork instead of a knife?
-
Using a fork to split English muffins preserves the signature nooks and crannies texture. A knife cuts through and smooths out these pockets, while pulling apart with a fork creates rough surfaces that perfectly catch butter, jam, and other toppings.
- → Can I make these muffins without a griddle?
-
Absolutely. A large cast-iron skillet, heavy-bottomed frying pan, or electric griddle all work beautifully. The key is maintaining medium-low heat to ensure the muffins cook through completely before the exterior burns.
- → How do I know when the muffins are fully cooked?
-
Look for deep golden-brown coloring on both sides. The muffins should feel firm when pressed, and an instant thermometer inserted into the center should read 200°F (93°C). If they brown too quickly, reduce the heat and cook longer.
- → Why is cornmeal or semolina used for dusting?
-
Cornmeal or semolina prevents sticking while adding traditional texture and flavor to the exterior. It creates that distinctive slightly gritty coating found on classic English muffins and helps achieve an authentic appearance.
- → Can I freeze the dough or baked muffins?
-
Fully cooled baked muffins freeze exceptionally well for up to two months. Wrap individually in plastic wrap, then place in a freezer bag. Thaw overnight and toast before serving. Freezing unbaked dough is not recommended as yeast performance may be compromised.
- → What's the purpose of the second proofing period?
-
The final 25-30 minute rest allows the cut muffins to puff slightly, creating a lighter, more tender texture. Skipping this step results in denser, tougher muffins that don't develop the characteristic airy interior.