 Save Pin
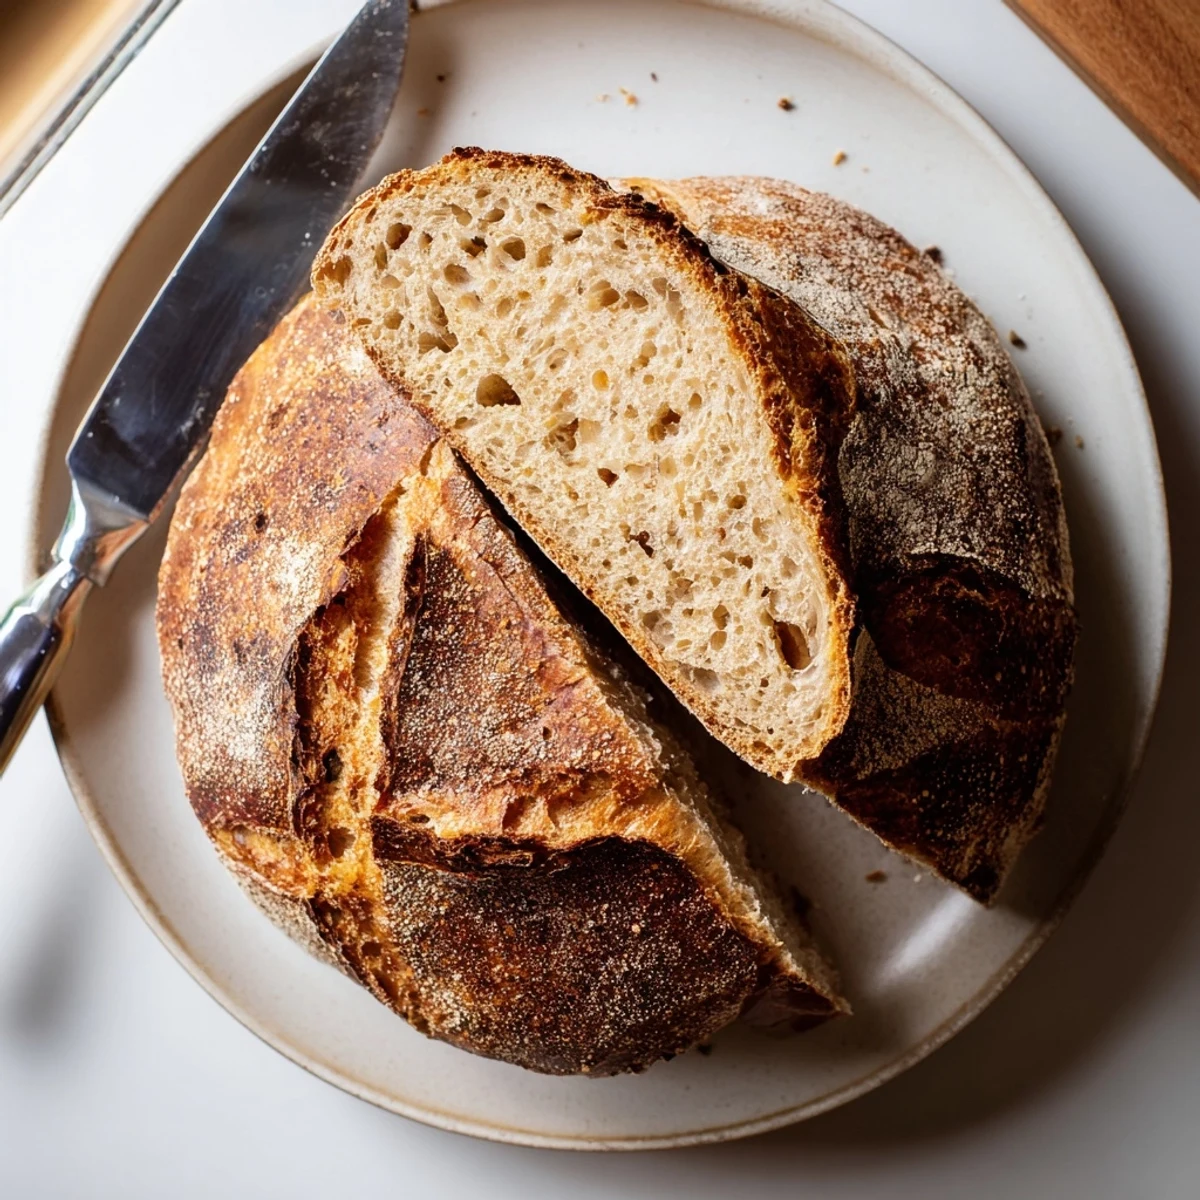
 Create authentic artisan sourdough bread using traditional wild yeast fermentation methods. This time-honored technique produces a beautifully caramelized crust, open crumb structure, and characteristic tangy flavor that develops through natural fermentation. The process involves mixing simple ingredients, periodic stretching and folding during bulk fermentation, shaping, and baking in a preheated Dutch oven for professional results.
The first time I pulled a crackling sourdough from my oven, steam curling off the crust like morning fog, I understood why bakers become obsessed. This isn't just bread, it's a living thing that responds to temperature, touch, and time in ways that feel almost personal. My kitchen smelled like warmth and patience, qualities I'd been trying to cultivate in my life anyway.
I brought this loaf to a friend's dinner party once, still warm from the oven, and watched everyone abandon the carefully planned appetizers to tear into it. Something about breaking bread together, especially when you've made it yourself, changes how people gather around a table. The friend asked for the recipe, but really she wanted the starter I'd been nurturing for months.
Ingredients
- 100 g active sourdough starter: This is your wild yeast culture, alive and bubbling after a recent feeding, it should smell pleasantly tangy and double in size within 4-6 hours of feeding
- 375 g bread flour: High protein flour creates the strong gluten network needed for that signature open crumb and impressive oven spring
- 25 g whole wheat flour: Adds subtle nuttiness and extra fermentation food for your starter, boosting both flavor and complexity
- 275 g water room temperature: Hydration levels affect everything from crumb structure to crust formation, room temp prevents shocking your starter
- 10 g sea salt: Controls fermentation speed while strengthening gluten strands and enhancing overall flavor development
Instructions
- Build your foundation:
- In a large bowl, mix the bread flour, whole wheat flour, and water until just combined and shaggy. Cover and let rest for 1 hour to allow enzymes to begin breaking down starches, this autolyse step makes later mixing easier and develops better gluten structure.
- Bring it together:
- Add your bubbly sourdough starter and sea salt to the rested dough. Mix by hand, squeezing the dough through your fingers until fully incorporated, the salt might feel stubborn at first but keep working it until the dough feels cohesive and smooth.
- Let it rise and strengthen:
- Cover and let ferment at room temperature for 4-5 hours, every 30-45 minutes perform a stretch and fold by grabbing one edge of the dough, pulling it upward, and folding it over the center, repeat four times rotating the bowl each time to build strength without kneading.
- Give it form:
- Turn the dough onto a lightly floured surface and gently shape it into a round, using a bench scraper to help if needed. Cover and let rest for 20 minutes, this relaxes the gluten making the final shaping easier and more effective.
- Create the final shape:
- Shape the dough into a tight round loaf by folding the edges toward the center and creating surface tension. Place it seam side up in a well floured proofing basket or bowl lined with a floured towel, the flour prevents sticking and creates that beautiful rustic pattern on the baked crust.
- The final rise:
- Cover and let rise at room temperature for 2-3 hours until the dough has noticeably puffed and springs back slowly when gently pressed. For deeper flavor, refrigerate overnight for cold proofing, which slows fermentation and develops complex tangy notes.
- Get ready to bake:
- Place a Dutch oven or heavy pot with lid in your oven and preheat to 250°C for at least 30 minutes, this intense heat creates the steam burst needed for that dramatic oven spring and crackling crust.
- The moment of truth:
- Gently invert your dough onto parchment paper, score the surface with a sharp blade or lame in your chosen pattern, then carefully transfer to the preheated pot. Cover and bake for 20 minutes, then remove lid, reduce temperature to 220°C, and bake another 25 minutes until deep golden brown and sounding hollow when tapped.
- Practice patience:
- Remove bread from pot and cool completely on a wire rack before slicing, cutting too early will release steam and make the crumb gummy, let it finish its journey to perfection.
 Save Pin
 My neighbor started leaving small jars of local honey on my porch after I gave her a slice, a silent exchange that turned into friendship over crusty bread and conversation. Some recipes bring people together unexpectedly, creating community one loaf at a time.
Understanding Your Starter
Your sourdough starter is like a pet that needs regular feeding and attention, thriving best when kept at consistent room temperature and fed daily if baking often. The bubbles you see are carbon dioxide produced by wild yeast and beneficial bacteria working together, this ecosystem is what gives sourdough its distinctive tang and superior keeping qualities compared to commercial yeast breads.
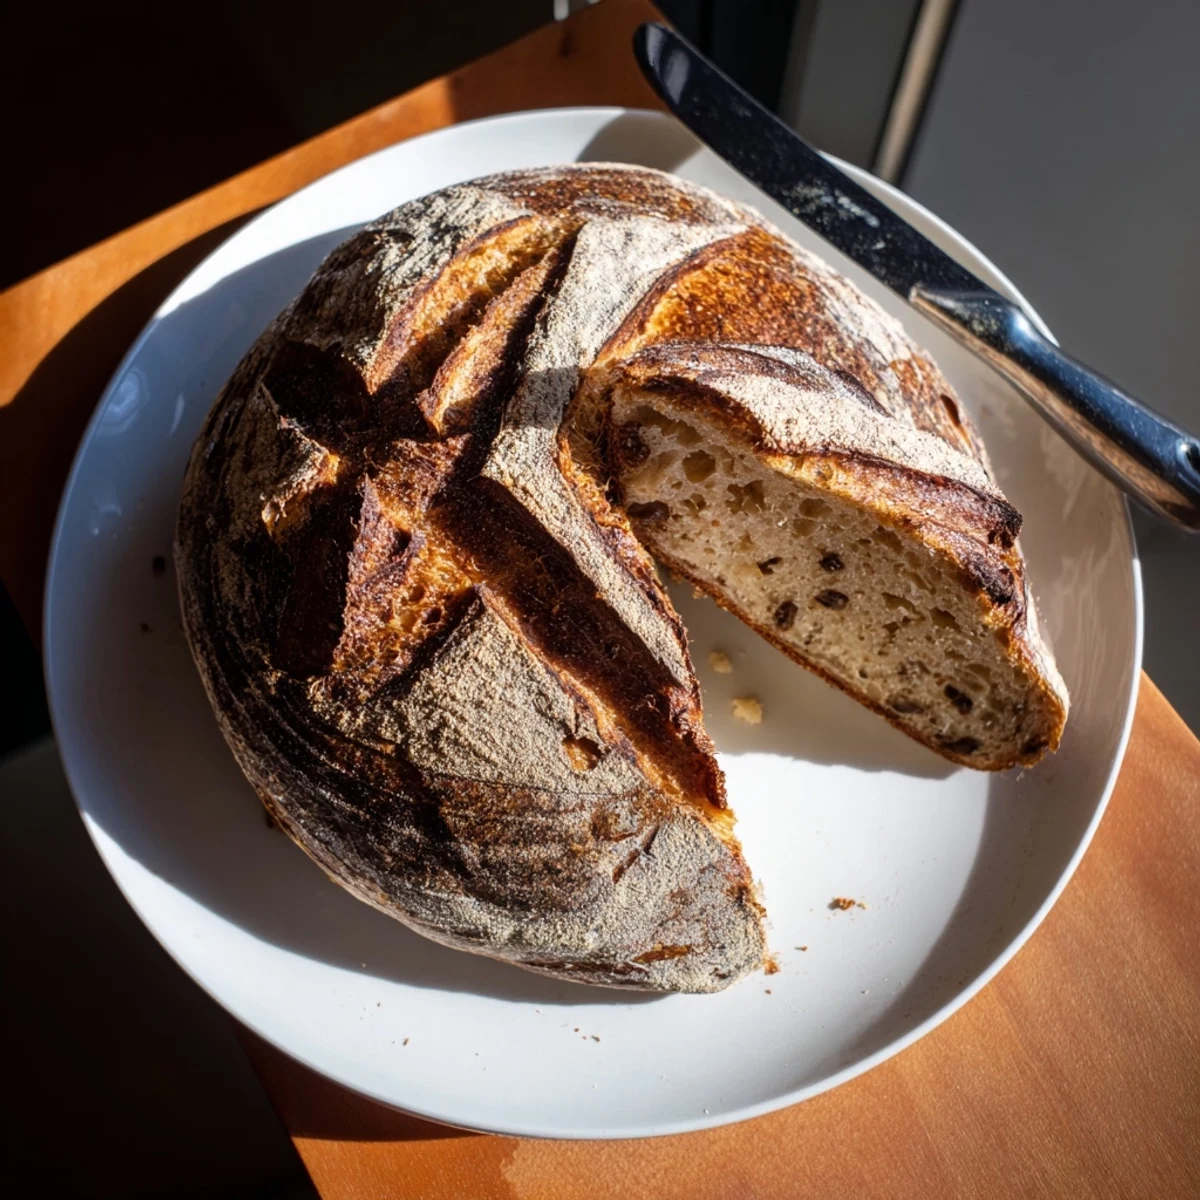
The Art of Scoring
Scoring isn't just decoration, it's controlled expansion that tells your bread where to burst during baking. Hold your blade at a slight angle and cut with confident swift motions, hesitation creates jagged lines while assurance gives you those beautiful raised edges that make loaves look professionally crafted.
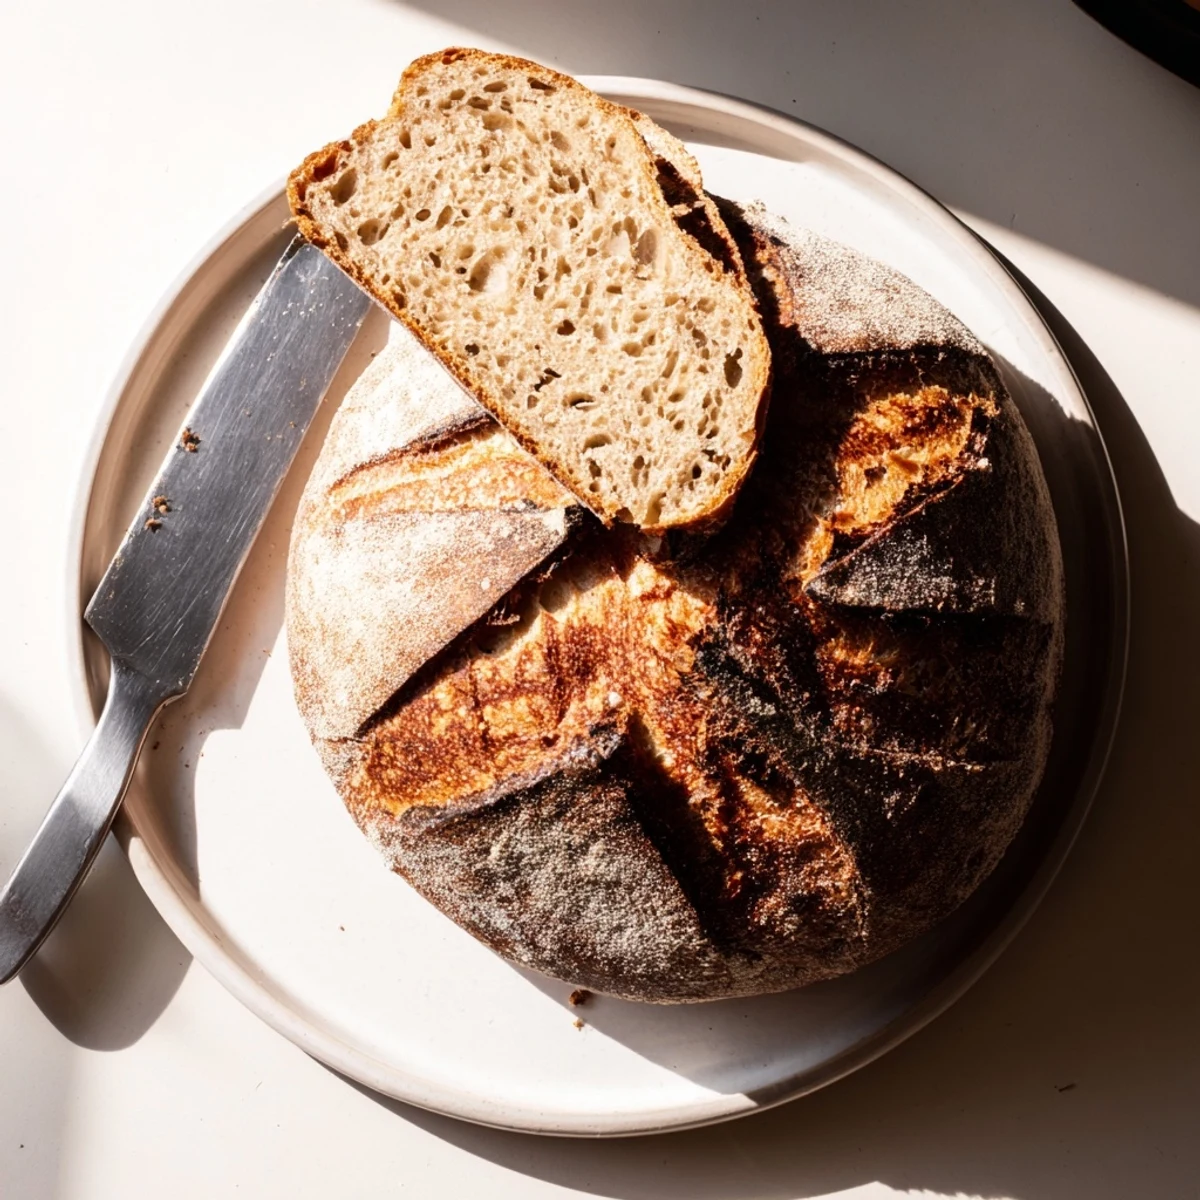
Storage and Serving Suggestions
Store your sourdough cut side down on a wooden board or in a paper bag, never plastic which makes the crust tough and chewy. After day three, slice and freeze what remains, toasting brings it back beautifully and you'll never waste a single slice.
- Revive day old bread by sprinkling with water and reheating at 180°C for 10 minutes
- Use slightly stale slices for the ultimate grilled cheese or French toast
- Breadcrumbs from sourdough add exceptional flavor and texture to casseroles
 Save Pin
 There's something profoundly satisfying about turning three simple ingredients into something that sustains both body and soul. May your kitchen always smell like possibility and your table always have room for one more.
Recipe FAQs
- → What makes sourdough different from regular bread?
-
Sourdough relies on wild yeast and beneficial bacteria naturally present in flour rather than commercial yeast. This lengthy fermentation process breaks down gluten, develops complex flavors, creates the signature tangy taste, and yields better digestibility plus extended freshness.
- → How do I know when my starter is active enough?
-
A properly fed starter should appear bubbly throughout, have doubled in volume within 4-8 hours after feeding, display a pleasant yeasty aroma, and pass the float test—small portions should float on water indicating sufficient gas production.
- → Can I bake without a Dutch oven?
-
While Dutch ovens create ideal steam for crust development, you can use a heavy cast iron pot with stainless steel bowl, or create steam by placing a tray of ice cubes in the oven while baking. The result will still be delicious though possibly less dramatic in crust formation.
- → Why is the dough so sticky during handling?
-
High hydration doughs naturally feel tacky and require minimal flour during shaping. Use wet hands, work quickly, and trust the process—the dough strengthens through fermentation and folding. Excessive flour creates dense loaves, so embrace the stickiness.
- → How should I store the finished loaf?
-
Room temperature storage in a paper bag maintains crust texture for 2-3 days. For longer keeping, freeze sliced portions in airtight bags. Avoid refrigeration as it accelerates staling. Re-crisp crust by reheating in a 350°F oven for 10 minutes.