 Save Pin
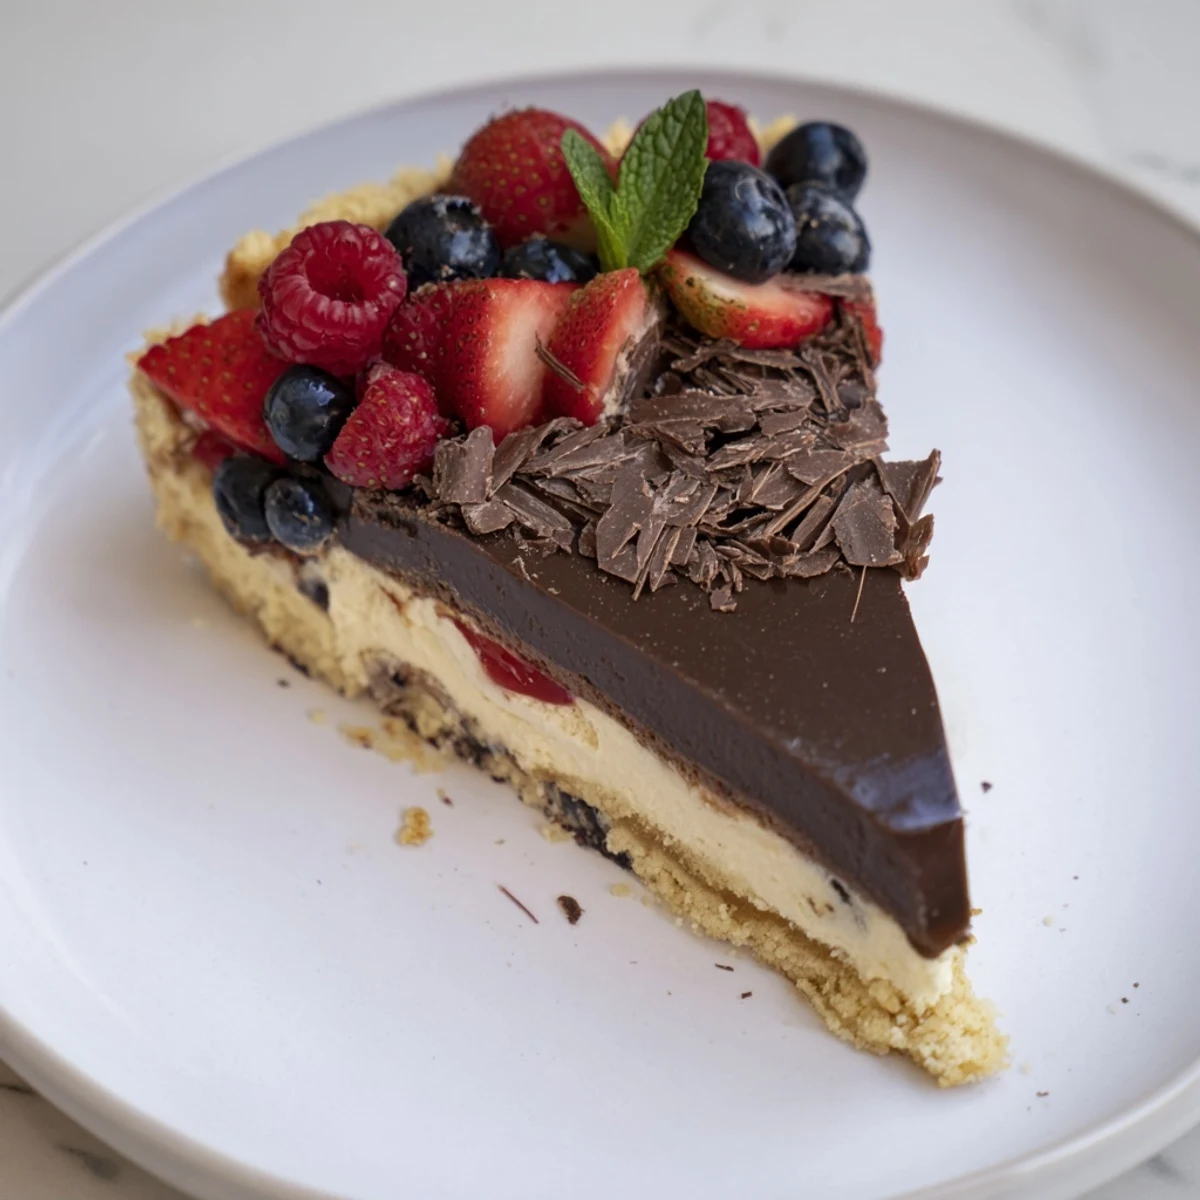
 This multi-layered showstopper begins with a crunchy crushed-biscuit base pressed into a 23 cm springform and chilled. A hot dark chocolate ganache is poured over and set briefly in the fridge; a whipped mascarpone-vanilla layer is spread on top and chilled until firm. Tossed berries with sugar and lemon are spooned over the cream, then the dessert is garnished with chocolate shavings and mint. Allow about 2 hours total including chilling; great for make-ahead service and easy to adapt.
If there was ever a dessert that could tempt me to start dinner with the last course, it's this one. The first time I assembled its layers, my kitchen filled up with the sounds of gently clinking bowls and the sweet scent of melting chocolate. I remember laughing as I tried to keep sneaky fingers—mine included—from sampling the shiny ganache. There's something about stacking flavors that turns an ordinary evening into an occasion.
One particularly gray Saturday, I made this for a group of friends who'd gathered for board games. We crowded around the countertop, chopping, whisking, and gently debating whose berry got to sit on top. There's something about making a showstopper together that transforms the mood, even before the first slice is served.
Ingredients
- Digestive biscuits: The base needs the right crunch, and blitzing them to the perfect crumb gives a satisfying bite—crumbs too big and the structure wobbles.
- Unsalted butter: Melting it until just liquid binds biscuits gently, so the crust sets firm but isn't heavy.
- Dark chocolate: Seek out a chocolate you love—its richness shapes the whole dessert and chopping it finely helps it melt evenly.
- Heavy cream: For ganache and vanilla cream, a cold pour creates luscious, stable layers.
- Mascarpone: Silky and just tangy enough, it helps the vanilla cream stay cloudlike without weeping.
- Powdered sugar: Sifting it stops any lumps sneaking into your cream, learned from one distinctly crunchy attempt.
- Vanilla extract: A good splash makes the cream fragrant—I've even tried infusing my own beans for extra punch.
- Mixed berries: The fresher, the better, but even frozen berries tossed with lemon can lift each slice with brightness.
- Sugar and lemon juice: Macerating the fruit softens tart edges and settles everything into juicy harmony.
- Dark chocolate shavings & fresh mint: Saved for the flourish right before serving—it makes the whole thing look like a celebration.
Instructions
- Prep the pan:
- Line your springform pan with parchment, smoothing out any creases—you'll thank yourself when unmolding time comes.
- Build the biscuit base:
- Blitz biscuits to a sandy meal and mix with just-melted butter; press firmly into the pan, making sure the edges are even, then set in the fridge.
- Master the ganache:
- Simmer cream just until it whispers a boil, then pour over chocolate and let it rest; stir slowly, watching it transform into velvet, then pour onto the base and chill.
- Whip the vanilla layer:
- Whip mascarpone, cream, sugar, and vanilla together until thick—spread carefully over the set ganache, smoothing the top.
- Macerate the berries:
- Toss your berries with sugar and lemon juice until glossy—let them lounge for a few minutes so their flavors mingle.
- Assemble and decorate:
- Spoon berries in a jumbled heap on the cream, then shower with chocolate shavings and mint just before slicing and revealing all those layers.
 Save Pin
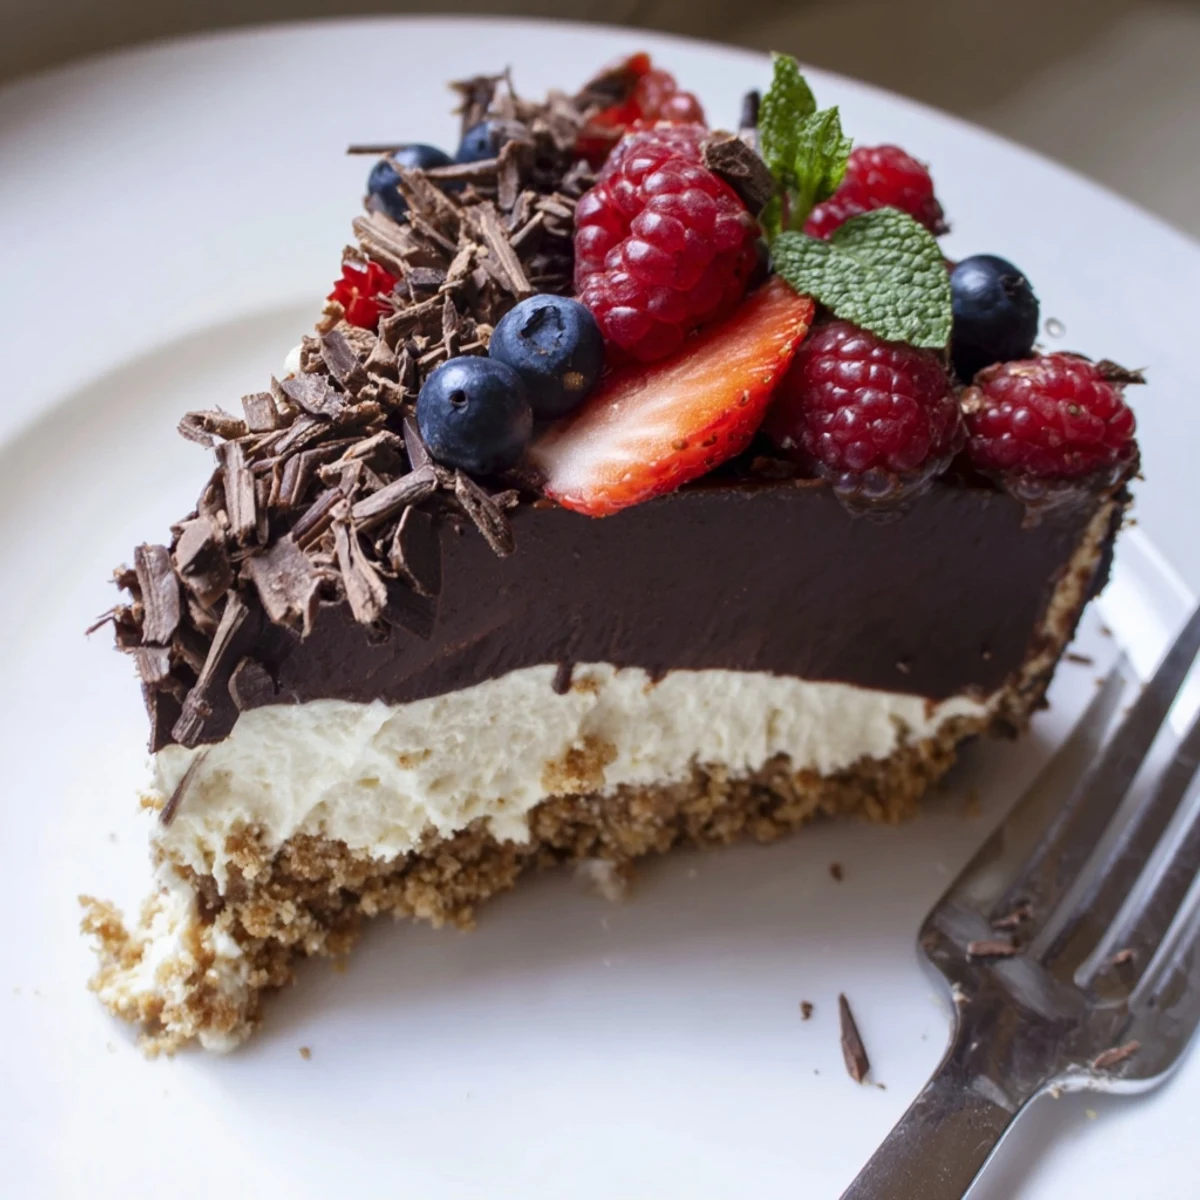
 There was a moment, handing out plates at a family birthday, when the sparkle of berry juice edged every slice and everyone paused—forks hovered—admiring the cut. Suddenly, the dessert wasn’t just food but its own little moment of applause around the table.
A Few Equipment Tricks
A springform pan truly earns its keep for this recipe: the easy release makes clean slices possible. If you don’t have a food processor, a sturdy plastic bag and a rolling pin will crush biscuits just as well and is slightly therapeutic.
Getting the Perfect Layers
The patience to chill at every step pays off in picture-worthy layers and flavors that don’t bleed together. Use an offset spatula or even the back of a big spoon for spreading the creamy layer right out to the edge.
Making It Your Own
Seasonal fruit swaps invite you to reinvent this whenever the mood strikes—ripe peaches or poached cherries are next-level. Bittersweet chocolate boosts richness, while an extra flourish of orange zest sometimes sneaks in when I’m feeling adventurous.
- Don’t skip tasting the berries with sugar before topping—you can always add more if too tart.
- If in a rush, quick-chill layers in the freezer for 10 minutes (but never more, or texture suffers).
- Unmold straight from the fridge, and wipe your knife between slices for beautiful presentation.
 Save Pin
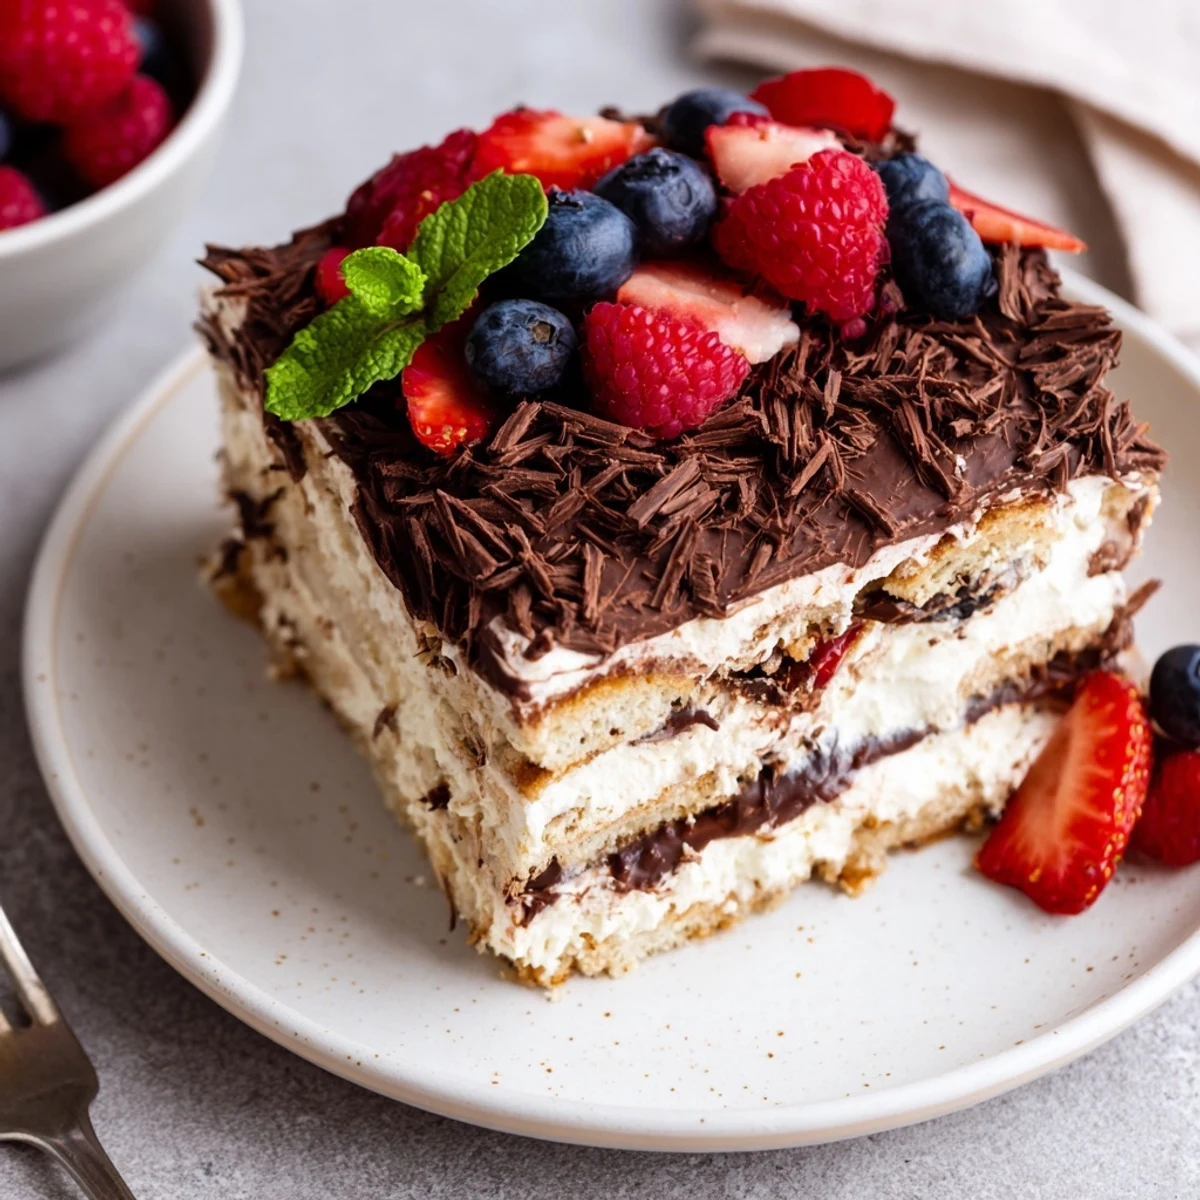
 Layering this dessert feels like stacking happiness, and every slice is worth the patience. I hope it brings as much fun to your table as it has to mine.
Recipe FAQs
- → How do I get a smooth, glossy ganache?
-
Heat the cream until just about to boil, pour it over chopped dark chocolate, let sit a couple of minutes, then stir gently until fully emulsified. Adding a little butter at the end helps shine and smoothness.
- → Why might the mascarpone layer become runny?
-
Overwhipping heavy cream or working mascarpone at too warm a temperature can cause separation. Keep ingredients cold, beat just until thick, and fold gently to maintain stability before chilling.
- → Can I swap mascarpone for something else?
-
Yes. Cream cheese gives a tangier profile, while stabilized whipped cream or a blend of cream cheese and ricotta offers milder alternatives. Adjust sugar to taste when substituting.
- → How long can this keep in the fridge?
-
Stored covered, it will keep well for 2–3 days. The biscuit base may soften over time, so for best texture serve within 24–48 hours and store away from strong odors.
- → How can I make a gluten-free version?
-
Use gluten-free digestive-style biscuits or crushed gluten-free cookies for the base. Check all processed ingredients like chocolate for hidden gluten or cross-contact warnings.
- → Any tips for slicing neat portions?
-
Chill the dessert thoroughly before unmolding. Dip a sharp knife in hot water, wipe dry between cuts and slice in a single smooth motion to keep layers distinct.