 Save Pin
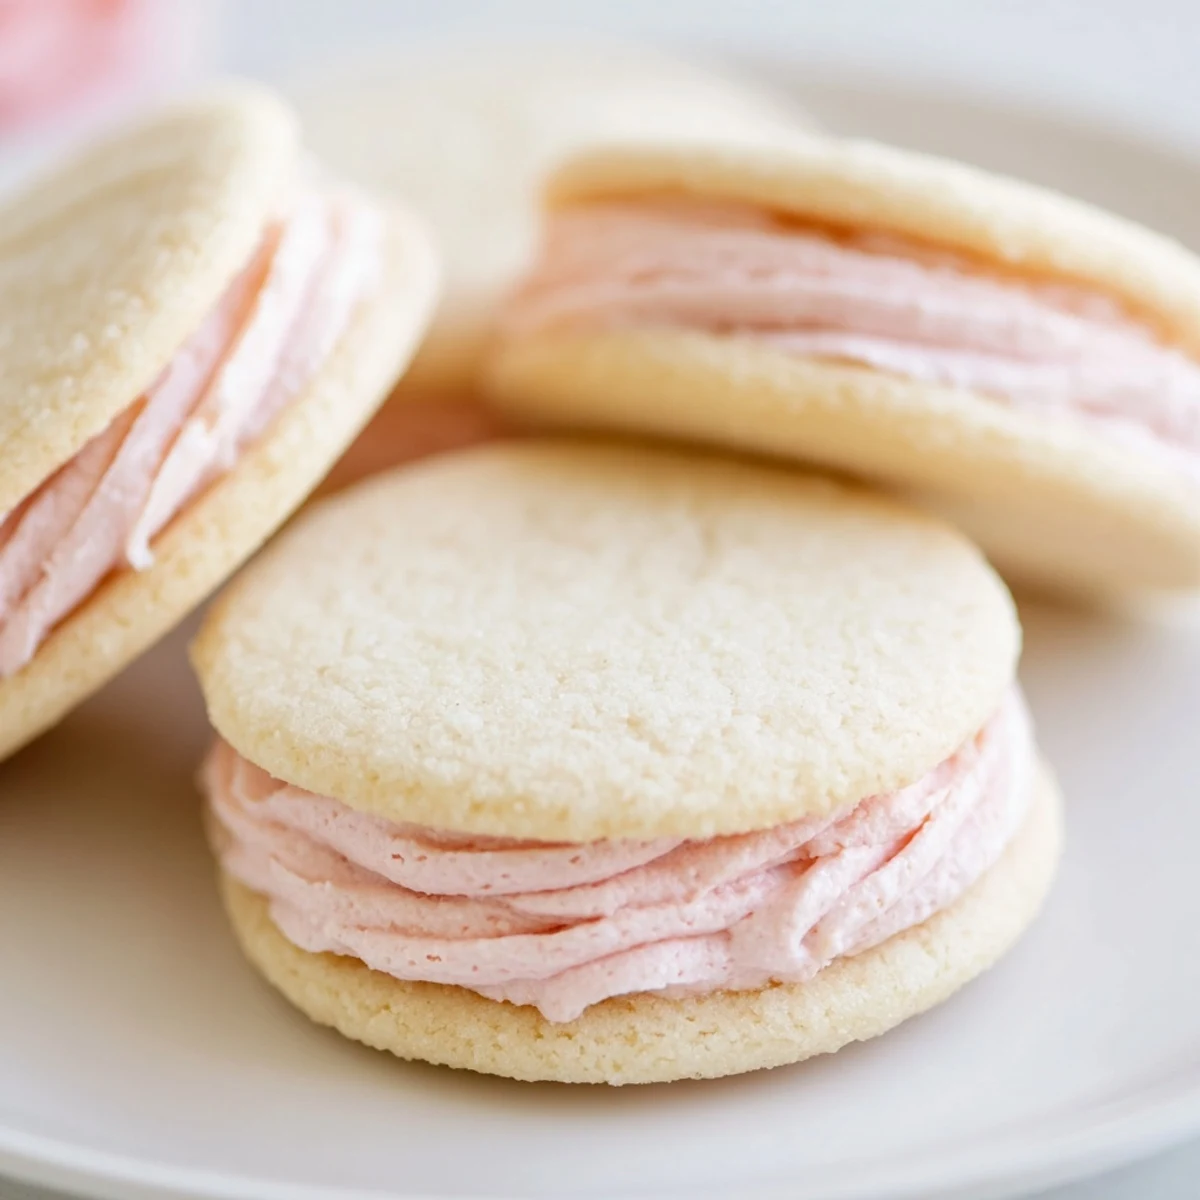
 These delicate sugar cookies feature soft, melt-in-your-mouth rounds sandwiching fluffy pastel buttercream in shades of pink, yellow, green, blue, or purple. The dough requires chilling for 30 minutes to prevent spreading, ensuring perfectly shaped cookies that hold their form during baking. Each sandwich showcases a generous layer of creamy, tinted frosting that creates a stunning visual display ideal for spring gatherings, baby showers, or elegant afternoon tea service.
The cookie base combines classic ingredients—flour, butter, sugar, and vanilla—while the buttercream filling gets its signature smoothness from room-temperature butter beaten until light and airy. Customization options include rolling assembled edges in pastel sprinkles for extra festiveness or swapping vanilla extract for almond or lemon varieties to complement different seasonal themes. Store completed sandwiches in airtight containers at room temperature for up to three days, though their charming appearance often leads to quick disappearance at any gathering.
The kitchen was filled with the sweet aroma of vanilla and butter as I baked these pastel sugar cookie sandwiches for my daughter's spring birthday party. I'd spent the morning carefully mixing gel food coloring into small bowls of buttercream, creating soft pinks, mint greens, and lavender purples that looked like tiny clouds. When her friends walked in, their eyes lit up at the sight of the platter filled with colorful sandwich cookies, and I knew these would become a regular request.
Last spring, I made a double batch of these cookies for an afternoon tea with my grandmother. She watched me pipe the pastel buttercream between the delicate rounds, mentioning how they reminded her of the fancy cookies from bakery windows in her childhood. We sat at the sunlit table with our tea, each taking small bites and savoring the moment together.
Ingredients
- 2 ½ cups all-purpose flour: The foundation of these delicate cookies, providing structure without being too dense
- ½ teaspoon baking powder: Gives just enough lift to make the cookies tender without spreading too much
- ¼ teaspoon salt: Balances the sweetness and enhances all the flavors
- ¾ cup unsalted butter, room temperature: Use real butter for the best flavor and texture, and make sure it is properly softened
- 1 cup granulated sugar: Creates the perfect sweetness and helps the cookies hold their shape
- 1 large egg: Binds the dough together and adds richness
- 1 teaspoon pure vanilla extract: The classic flavor that pairs beautifully with butter
- ½ cup unsalted butter, room temperature: For the buttercream, again ensure it is properly softened for smooth mixing
- 2 cups powdered sugar, sifted: Sifting prevents lumps and ensures silky smooth frosting
- 1 ½ tablespoons milk: Adjust to reach your desired buttercream consistency
- 1 teaspoon pure vanilla extract: Brings that familiar comforting flavor to the filling
- Pinch of salt: A tiny bit goes a long way to balance the sweet frosting
- Pastel gel food coloring: Gel colors provide vibrant hues without thinning the buttercream
Instructions
- Whisk the dry ingredients together:
- In a medium bowl, combine the flour, baking powder, and salt until well blended
- Cream the butter and sugar:
- Beat the butter and sugar on medium speed for 2 to 3 minutes until the mixture is light and fluffy
- Add the egg and vanilla:
- Mix in the egg and vanilla extract until everything is fully combined
- Incorporate the dry ingredients:
- Gradually add the flour mixture, mixing just until you no longer see dry streaks
- Chill the dough:
- Divide the dough in half, form into discs, wrap in plastic, and refrigerate for at least 30 minutes
- Prepare the oven:
- Preheat to 350°F and line two baking sheets with parchment paper
- Roll and cut the cookies:
- Roll one dough disc to ¼ inch thickness and cut into 2 inch rounds, placing them 1 inch apart on the sheets
- Bake to perfection:
- Bake for 8 to 10 minutes until edges just begin to turn golden, then cool for 2 minutes before moving to racks
- Make the buttercream:
- Beat the butter until creamy, then gradually add powdered sugar, milk, vanilla, and salt until smooth
- Add pastel colors:
- Divide the buttercream into small bowls and tint each with a different pastel food coloring
- Assemble the sandwiches:
- Spread or pipe buttercream onto half the cookies and top with remaining cookies to form sandwiches
- Let them set:
- Allow the assembled cookies to set for 20 minutes before serving
 Save Pin
 My neighbor came over last week just as I was finishing a batch, and we sat at the counter with tea and these cookies. She said they reminded her of the treats her mother would make for special occasions, and we ended up spending the afternoon sharing childhood baking stories while nibbling on the pastel sandwiches.
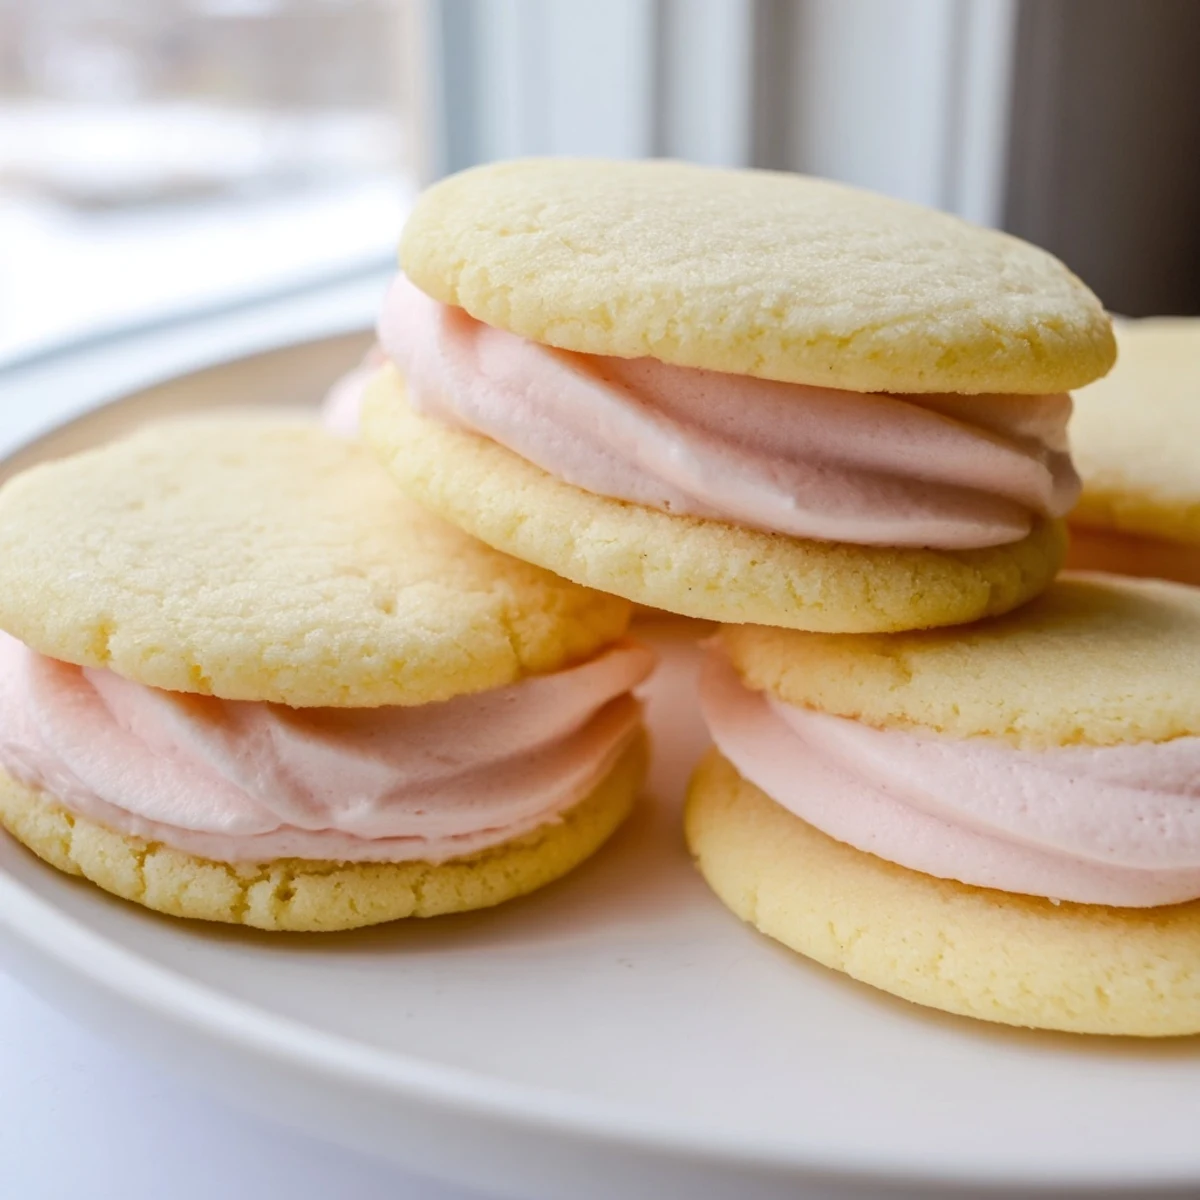
Making The Perfect Pastel Colors
Start with a tiny amount of gel coloring because it is highly concentrated and a little goes a long way. I use the tip of a toothpick to add color gradually until I achieve those soft dreamy pastels that look like spring itself.
Working With The Dough
If the dough becomes too soft while rolling, simply pop it back in the refrigerator for 10 minutes. This prevents sticking and ensures your cookies hold their perfect round shape during baking.
Storage And Serving Suggestions
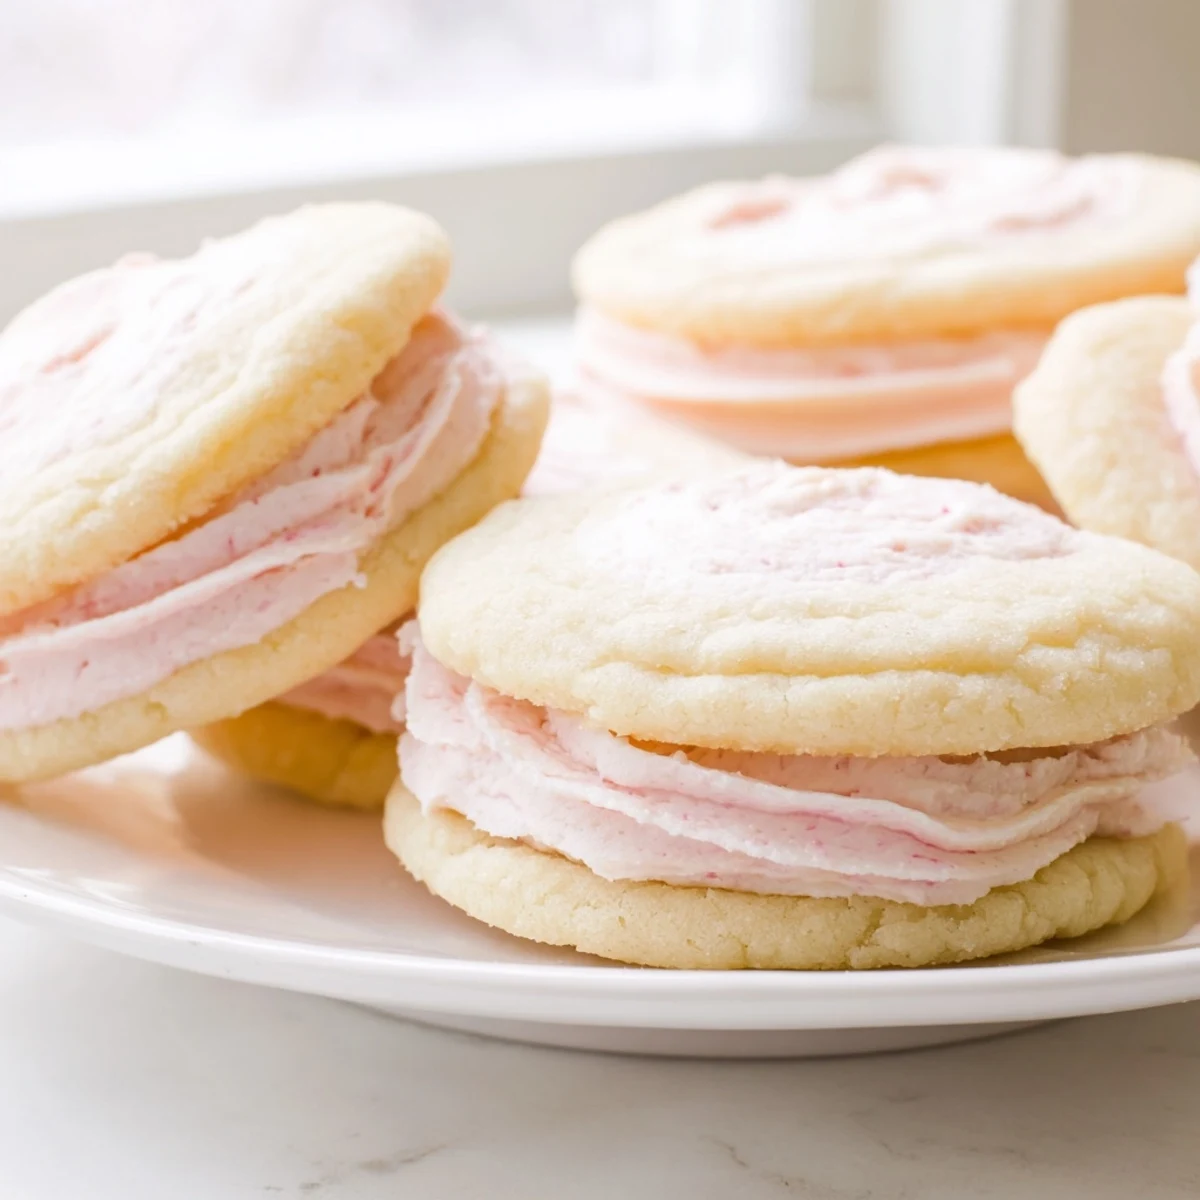
These cookies stay fresh in an airtight container for up to three days, though they rarely last that long in my house. They make wonderful gifts layered in clear boxes with pastel ribbon.
- Roll the edges of assembled sandwiches in pastel sprinkles for extra flair
- Try almond or lemon extract instead of vanilla for a different flavor profile
- These freeze beautifully for up to two months if you want to make them ahead
 Save Pin
 There is something magical about biting into these delicate cookie sandwiches and seeing the pastel buttercream peeking out from the edges. They bring such joy to anyone who tries them.
Recipe FAQs
- → How long should I chill the cookie dough?
-
Refrigerate the dough for at least 30 minutes after dividing and flattening into discs. This chilling period prevents excessive spreading during baking and helps the cookies maintain their round shape while developing a tender texture.
- → Can I make the buttercream ahead of time?
-
Yes, prepare the buttercream up to two days in advance and store it in an airtight container at room temperature. Give it a quick whip before tinting and assembling to restore the fluffy consistency.
- → What's the best way to achieve pastel colors?
-
Use gel food coloring rather than liquid varieties for vibrant yet soft hues. Start with a tiny amount on a toothpick—gel concentrates are potent—and gradually add more until you reach the desired pastel shade for each buttercream portion.
- → How do I prevent the cookies from over-browning?
-
Watch closely during the final 2 minutes of the 8-10 minute baking window. Remove them from the oven when edges just begin turning golden—the centers should appear slightly underbaked as they continue cooking on the hot baking sheet during the 2-minute cooling period.
- → Can I freeze the assembled sandwiches?
-
Freezing works best if you freeze unfilled cookies and buttercream separately. Thaw both at room temperature, then assemble fresh. Pre-assembled sandwiches may develop soggy textures from moisture absorption during freezing and thawing.
- → What size cookie cutter works best?
-
A 2-inch round cutter creates perfectly proportioned sandwiches with substantial filling-to-cookie ratios. Larger 3-inch cutters yield impressive desserts but require increased buttercream quantities, while 1.5-inch versions produce bite-sized treats ideal for buffets.