 Save Pin
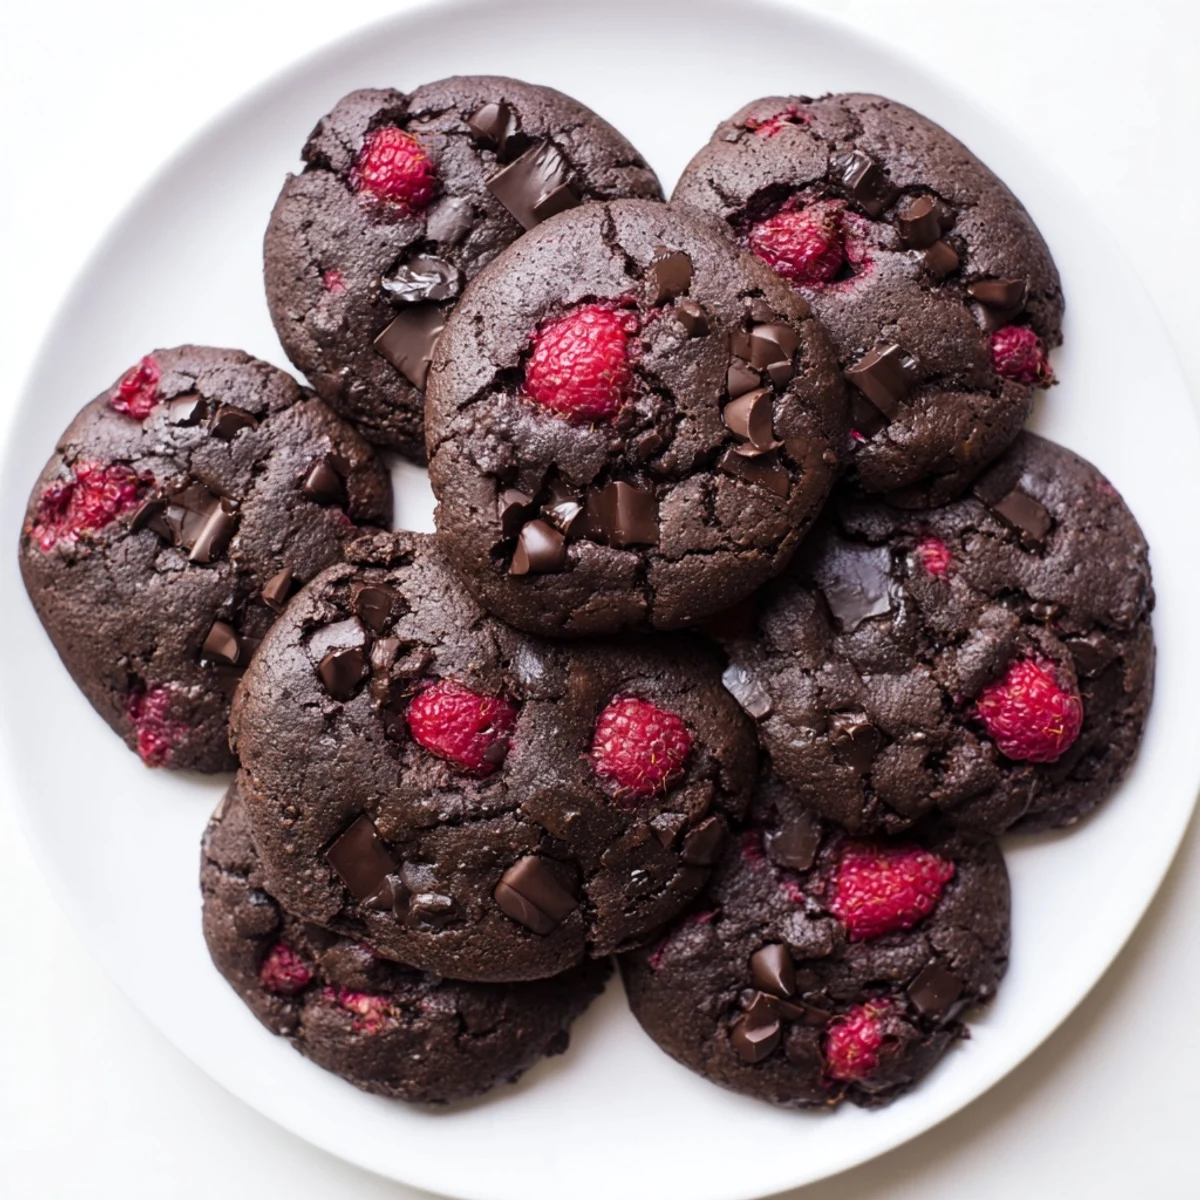
 These decadent cookies deliver the perfect balance of rich dark chocolate and bright raspberry flavor. The cocoa-infused dough creates a chewy, fudgy texture that complements the tart berries beautifully. With just 15 minutes of prep time, you can have bakery-style results at home. The key is folding in frozen raspberries gently to prevent crushing, then slightly underbaking for that irresistible gooey center. Perfect paired with cold milk or served alongside vanilla ice cream for an elevated dessert experience.
The first time I made these dark chocolate raspberry cookies, I was skeptical about the combination. I worried the berries would turn the dough into a soggy mess or disappear completely during baking. But when I pulled that first tray from the oven, the aroma of rich cocoa hit me first, followed by this subtle fruity sweetness that made my kitchen feel like a fancy bakery. Now they're the most requested treat at every gathering.
Last winter, during that snowstorm that kept us stuck inside for three days, my neighbor texted asking if I had anything to bake. I threw together a double batch of these cookies, and we spent the evening drinking hot cocoa and devouring them while watching the snow pile up outside. Something about the warmth of dark chocolate and the brightness of fresh raspberries just hits different when it's freezing out.
Ingredients
- All-purpose flour: The backbone of your cookie structure, don't skip the proper measuring or you'll end up with flat cookies
- Unsweetened cocoa powder: This gives you that deep chocolate flavor without making the cookies too sweet, Dutch processed works best for that smooth taste
- Baking soda: Essential for getting those cookies to spread just right and develop those chewy centers we all love
- Salt: Never skip salt in chocolate cookies, it intensifies the cocoa flavor and balances the sweetness
- Unsalted butter: Softened to room temperature so it creams properly with the sugars, creating those perfect air pockets
- Brown sugar: Packed tight because this is what gives your cookies moisture and that gorgeous chewy texture
- Granulated sugar: Helps create those crispy edges while the brown sugar handles the soft centers
- Eggs: Room temperature eggs incorporate better into the dough and help bind everything together
- Pure vanilla extract: Always use the real stuff here, the fake stuff can't stand up to the bold chocolate flavor
- Dark chocolate chunks: Go for at least 60% cacao, chunks over chips because they melt into pools of chocolate throughout the cookie
- Fresh raspberries: Gently fold them in at the very end, frozen works great too but whatever you do, don't thaw them first
Instructions
- Get your oven ready:
- Preheat to 350°F and line those baking sheets with parchment paper, trust me, cleanup is worth this tiny step
- Whisk the dry team:
- In a medium bowl, combine flour, cocoa powder, baking soda and salt until they're one happy family
- Cream like you mean it:
- Beat butter and both sugars together for about 2 minutes until the mixture looks fluffy and pale, this creates the cookie texture
- Add the wet ingredients:
- Crack in those eggs one at a time, then pour in the vanilla, letting each addition get fully incorporated
- Bring it all together:
- Gradually mix in the dry ingredients just until you don't see flour anymore, overmixing makes tough cookies
- The gentle fold:
- Fold in chocolate chunks and raspberries with a light hand, treat those berries like they're precious
- Space them out:
- Drop tablespoon mounds onto your prepared sheets, giving each cookie about 2 inches of personal space
- The perfect bake:
- Slide them into the oven for 11 to 13 minutes, watching for edges that look set while centers stay slightly soft
- The patience test:
- Let them cool on the baking sheets for 5 minutes, they'll finish cooking and set up as they rest
 Save Pin
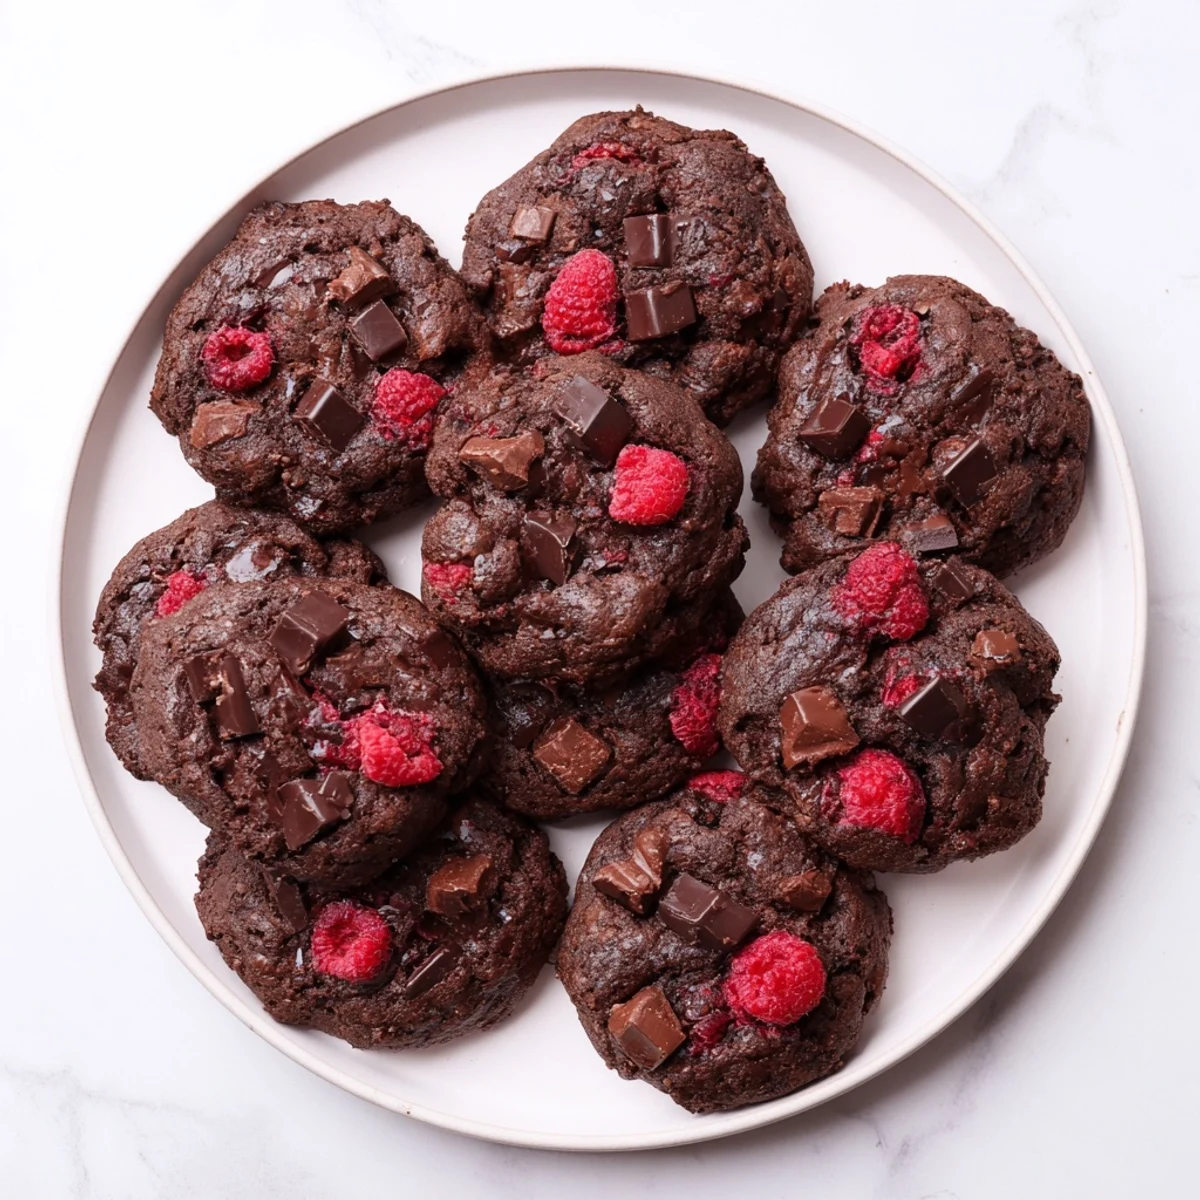
 My sister claimed she didn't like fruit in desserts until I made her try one of these still warm from the oven. She took one bite, got this look on her face like she'd been lying to herself for years, and promptly ate three more. Now whenever she visits, these cookies are already cooling on the counter before she even walks through the door.
Getting The Texture Right
The secret to these cookies is the balance between crisp edges and chewy centers. That creaming step with butter and sugars isn't optional, it literally creates air pockets that transform into the texture we all crave in a perfect cookie. When you see the mixture turn pale and fluffy, that's your green light to proceed.
Working With Fresh Berries
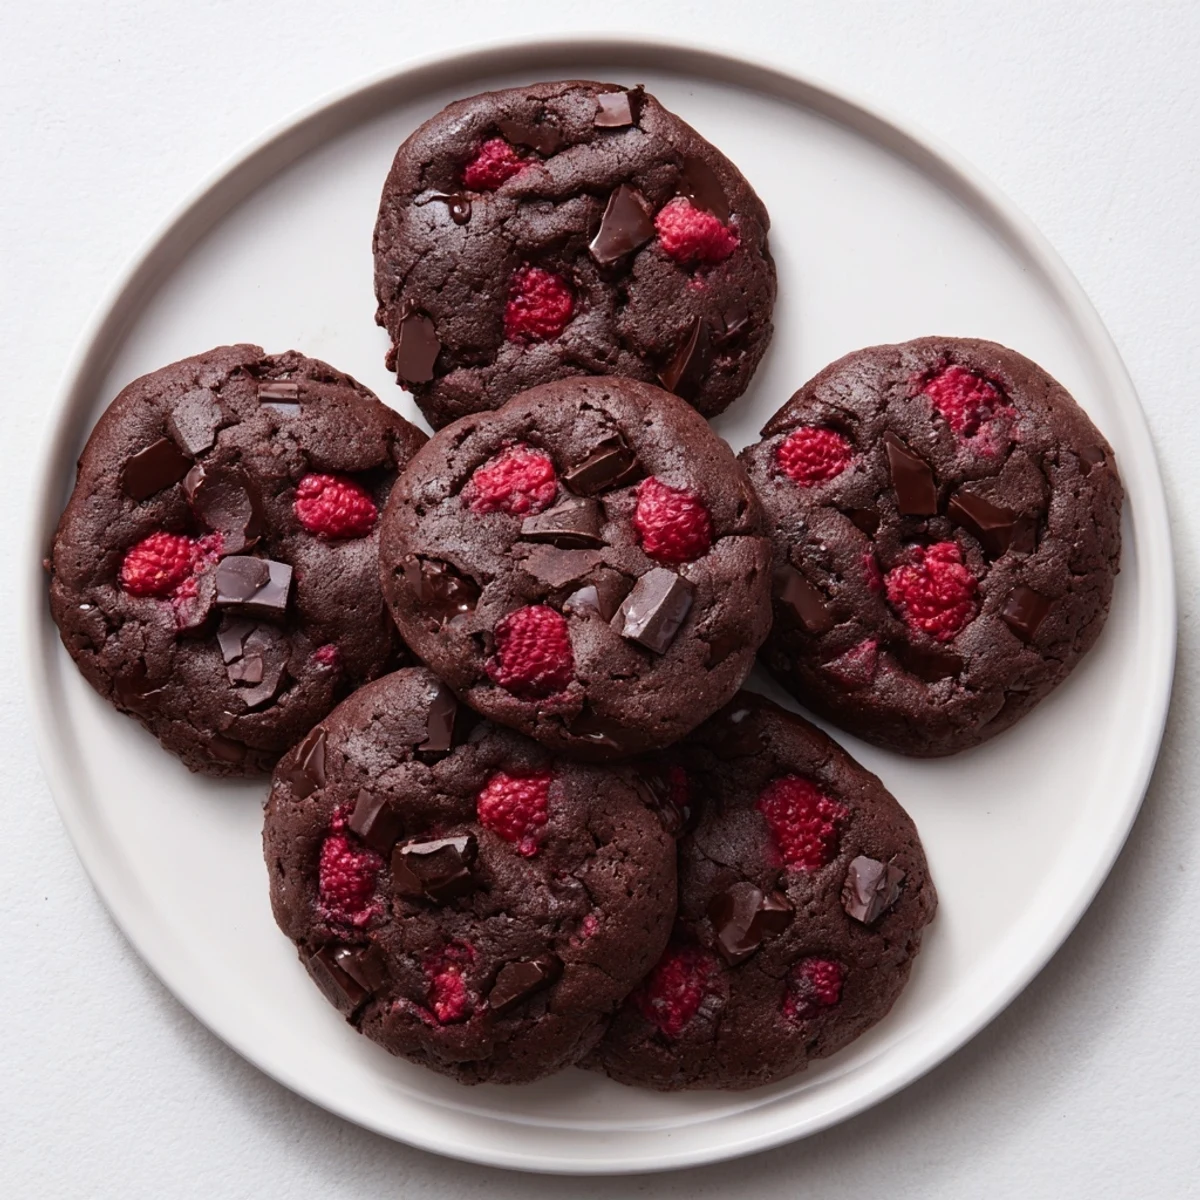
I've learned that raspberries can be temperamental little things in cookie dough. The trick is folding them in with just a few gentle turns, almost like you're folding egg whites into a soufflé. Some berries will break apart and create these gorgeous raspberry streaks throughout the cookie, while others stay whole and burst in your mouth.
Storage And Serving
These cookies are actually best served the day they're made when those edges are still slightly crisp and the chocolate is melty. But let's be real, they rarely last more than 24 hours in my house anyway.
- Store in an airtight container with a piece of bread to keep them soft
- Warm leftover cookies for 10 seconds in the microwave to recapture that fresh baked magic
- These freeze beautifully for up to 3 months, just thaw on the counter for 15 minutes
 Save Pin
 There's something almost magical about the way dark chocolate and raspberries dance together in these cookies. Hope they become a staple in your baking repertoire like they have in mine.
Recipe FAQs
- → Can I use frozen raspberries instead of fresh?
-
Absolutely. Frozen raspberries work excellently in this dough. Just don't thaw them before mixing—adding them frozen prevents excess moisture and helps maintain their shape during baking.
- → Why are my cookies spreading too much?
-
Overly soft butter or warm dough can cause excess spreading. Chill your dough for 15-20 minutes before baking if your kitchen is warm. Also ensure you're measuring flour correctly by spooning it into the cup rather than scooping directly.
- → How do I store these cookies?
-
Store cooled cookies in an airtight container at room temperature for up to 4 days. For longer storage, freeze baked cookies in freezer bags for up to 3 months. You can also freeze individual dough balls to bake fresh later.
- → Can I substitute the dark chocolate?
-
Semi-sweet chocolate chips work if you prefer less intensity, or milk chocolate for a sweeter profile. Chocolate chunks create beautiful pools of melted chocolate, but chips distribute more evenly throughout the dough.
- → What's the trick to gooey centers?
-
Remove cookies from the oven when edges are set but centers still look slightly underdone. They'll continue cooking on the hot baking sheet during the 5-minute cooling period, resulting in perfectly chewy, gooey centers.
- → Can I make these gluten-free?
-
Yes, substitute the all-purpose flour with a 1:1 gluten-free baking blend that includes xanthan gum. The texture may be slightly more crumbly but still delicious.