 Save Pin
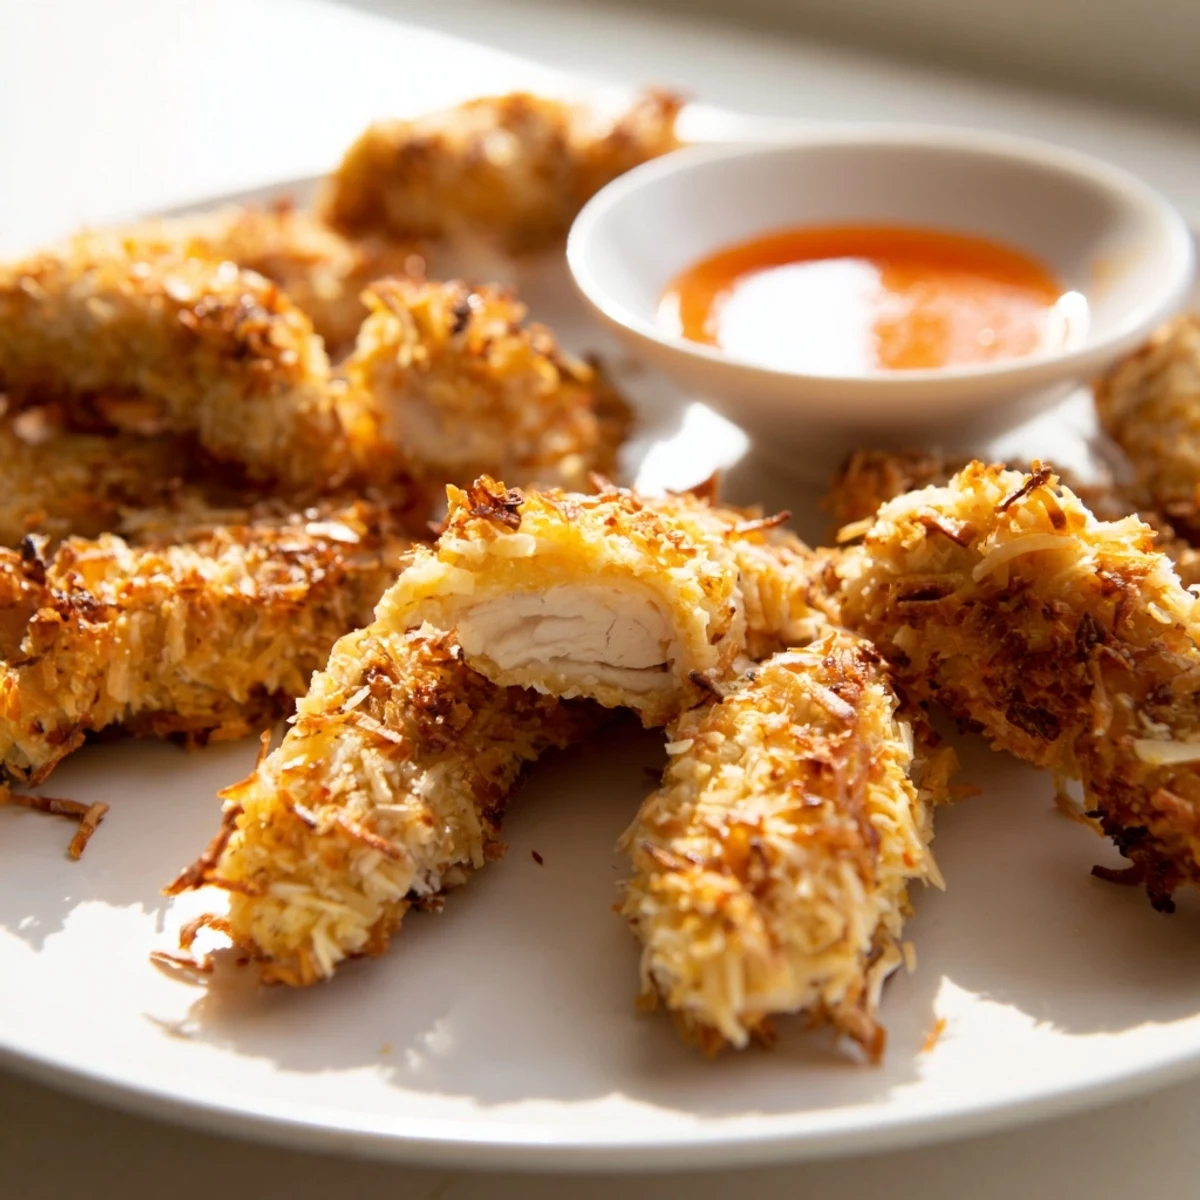
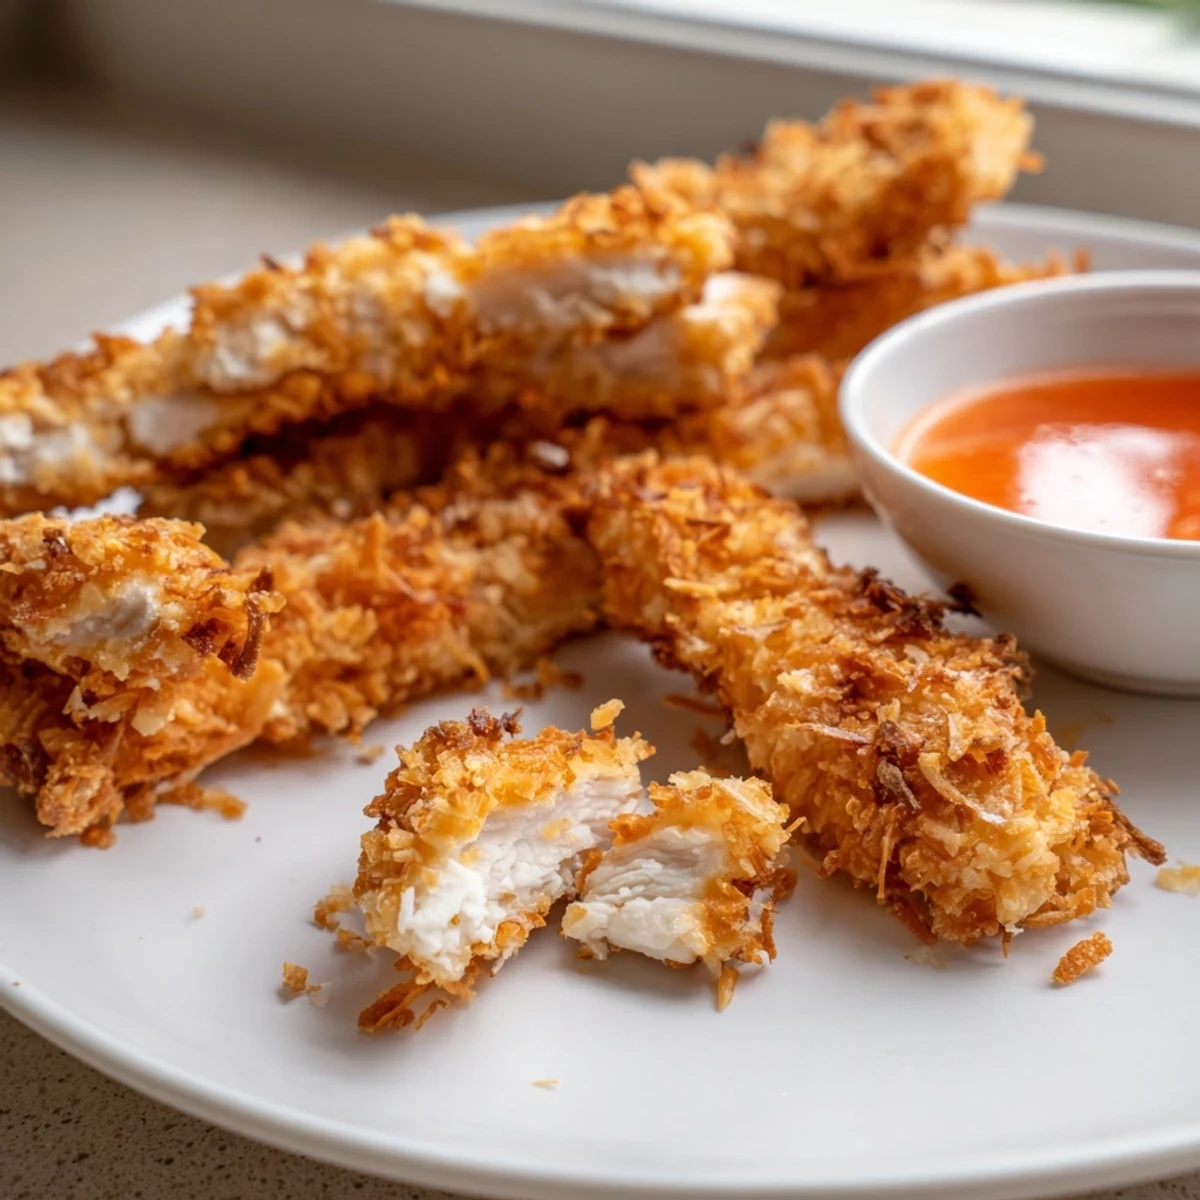
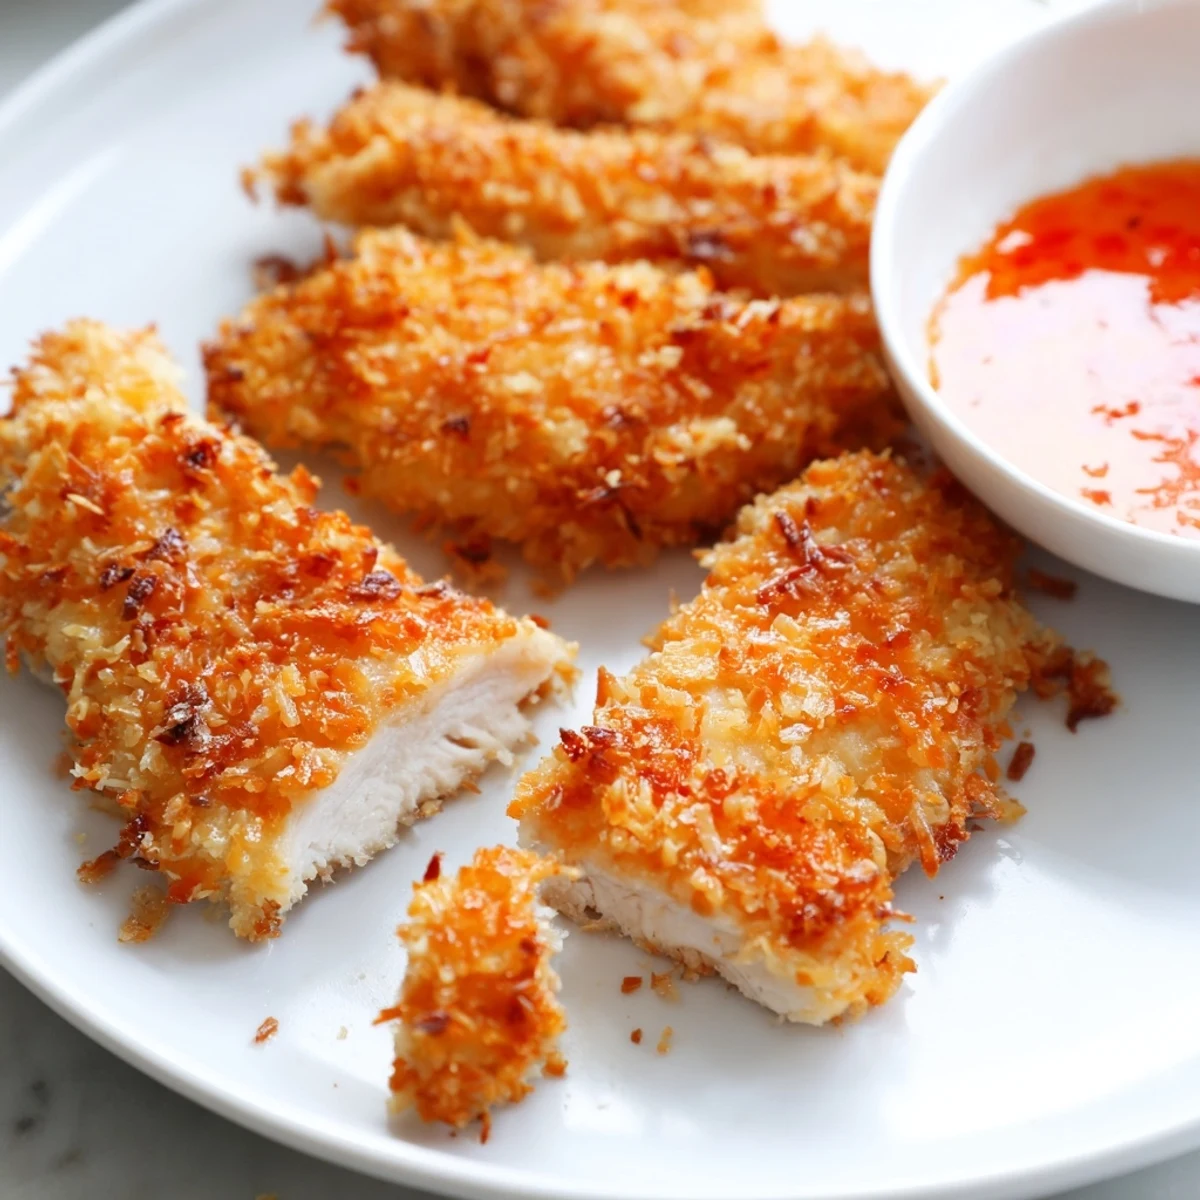
 These crunchy coconut chicken strips deliver the perfect balance of juicy, tender chicken and a shatteringly crisp coconut-panko crust. Each strip gets the classic three-step breading treatment—seasoned flour, beaten egg, then a generous coating of shredded coconut mixed with crunchy panko breadcrumbs.
You can bake them in the oven for a lighter version or pan-fry for maximum golden crunch. Ready in under 45 minutes from start to finish, they make an excellent main dish paired with rice and a fresh salad, or serve them as crowd-pleasing party finger food with sweet chili sauce or mango chutney on the side.
The sizzle of coconut hitting hot oil on a Tuesday evening changed my relationship with chicken forever. I had bought a bag of shredded coconut on impulse, staring at it for days before inspiration struck. What started as a curious experiment became the most requested dinner in my household, beating out even pizza night. That golden crunch, with its faint tropical sweetness, is downright addictive.
My neighbor walked in unannounced one evening while I was frying a batch and stood in the kitchen doorway just breathing in the smell. I handed her a strip on a paper towel and she leaned against the counter eating three more before saying a word.
Ingredients
- 600 g boneless skinless chicken breasts or tenders: Cut into even strips so they cook uniformly and you get the ideal ratio of crust to meat.
- 70 g all purpose flour: This thin base layer is what helps everything else stick without turning gummy.
- 1 tsp salt, half tsp black pepper, half tsp garlic powder: Seasoning the flour directly seasons the crust from within rather than relying on surface flavor alone.
- 2 large eggs beaten: The binding bridge between flour and coconut, and room temperature eggs coat more smoothly.
- 90 g unsweetened shredded coconut: Unsweetened is key here because sweetened coconut burns before the chicken cooks through.
- 60 g panko breadcrumbs: Panko adds structure and airiness that shredded coconut alone cannot achieve.
- Vegetable oil for frying: A neutral oil lets the coconut flavor shine without competition.
- Sweet chili sauce or mango chutney for serving: A fruity dipping sauce complements the tropical notes in the crust beautifully.
Instructions
- Set up your cooking station:
- If baking, preheat your oven to 200 degrees Celsius, line a baking sheet with parchment, and give it a light oil coating. If frying, get your skillet ready but do not heat the oil just yet.
- Build the breading line:
- Arrange three shallow bowls in a row so your hands move naturally left to right without dripping everywhere.
- Coat each strip:
- Dredge in the seasoned flour first and shake off the excess gently. Dunk in the egg, then press firmly into the coconut panko mixture, really patting it on with your palms so it holds tight.
- Cook to golden perfection:
- For baking, arrange the strips with space between them, spray lightly with oil, and bake 18 to 22 minutes flipping halfway. For frying, heat about 2 cm of oil over medium heat and cook strips in batches, 2 to 3 minutes per side until deeply golden.
- Serve immediately:
- Let them rest for just a minute on paper towels, then pile them onto a plate with your favorite dipping sauce alongside.
 Save Pin
 I once packed a container of these for a beach picnic and my friends ate every strip standing in the parking lot before we even reached the sand.
Making It Your Own
A pinch of cayenne in the flour mixture adds warmth that plays beautifully with the sweetness of the coconut. I discovered this by accident when I knocked the jar and decided to just go with it.
Gluten Free Without Compromise
Swap the all purpose flour and panko for their gluten free counterparts and the result is nearly identical. The coconut does most of the textural heavy lifting anyway, so you will not feel like you are missing out.
Serving Suggestions Worth Trying
These strips are endlessly versatile and I have served them more ways than I can count. Here are the pairings that keep coming back.
- Piled over a simple bowl of jasmine rice with a squeeze of lime and a drizzle of soy sauce.
- Alongside a crisp green salad with a tangy vinaigrette to cut through the richness.
- Cut into bite sized pieces on a toothpick tray for parties, because they disappear faster than anything else on the table.
 Save Pin
 Some recipes become favorites because they are easy, and others earn that spot because they make people happy the moment they take a bite. This one does both, and that is worth holding onto.
Recipe FAQs
- → Can I bake instead of fry the coconut chicken?
-
Yes, baking works wonderfully. Arrange the coated strips on a parchment-lined baking sheet, lightly spray or brush with oil, and bake at 200°C (400°F) for 18–22 minutes, turning halfway through, until golden and cooked through.
- → How do I get the coconut breading to stick properly?
-
Follow the three-step process: dredge in seasoned flour first, dip in beaten eggs, then press the coconut-panko mixture firmly onto the chicken. Pressing gently but firmly ensures the coating adheres well during cooking.
- → Can I make this dish gluten-free?
-
Absolutely. Swap the all-purpose flour for a gluten-free flour blend and use gluten-free panko breadcrumbs. The rest of the ingredients are naturally gluten-free, so the texture and flavor remain excellent.
- → What dips pair well with coconut chicken?
-
Sweet chili sauce and mango chutney are classic pairings that complement the tropical coconut flavor. You can also try a honey-mustard dip, a creamy sriracha mayo, or a simple squeeze of fresh lime juice.
- → Can I use chicken thighs instead of breasts?
-
Yes, boneless skinless chicken thighs work great and will yield even juicier results. Cut them into similar-sized strips so they cook evenly, and adjust the cooking time slightly if needed since thighs may take a minute or two longer.
- → How should I store and reheat leftovers?
-
Store leftover coconut chicken in an airtight container in the refrigerator for up to 3 days. To reheat and restore crunch, place the strips on a baking sheet in a 190°C (375°F) oven for about 10 minutes. Avoid microwaving, as it will make the coating soggy.