 Save Pin
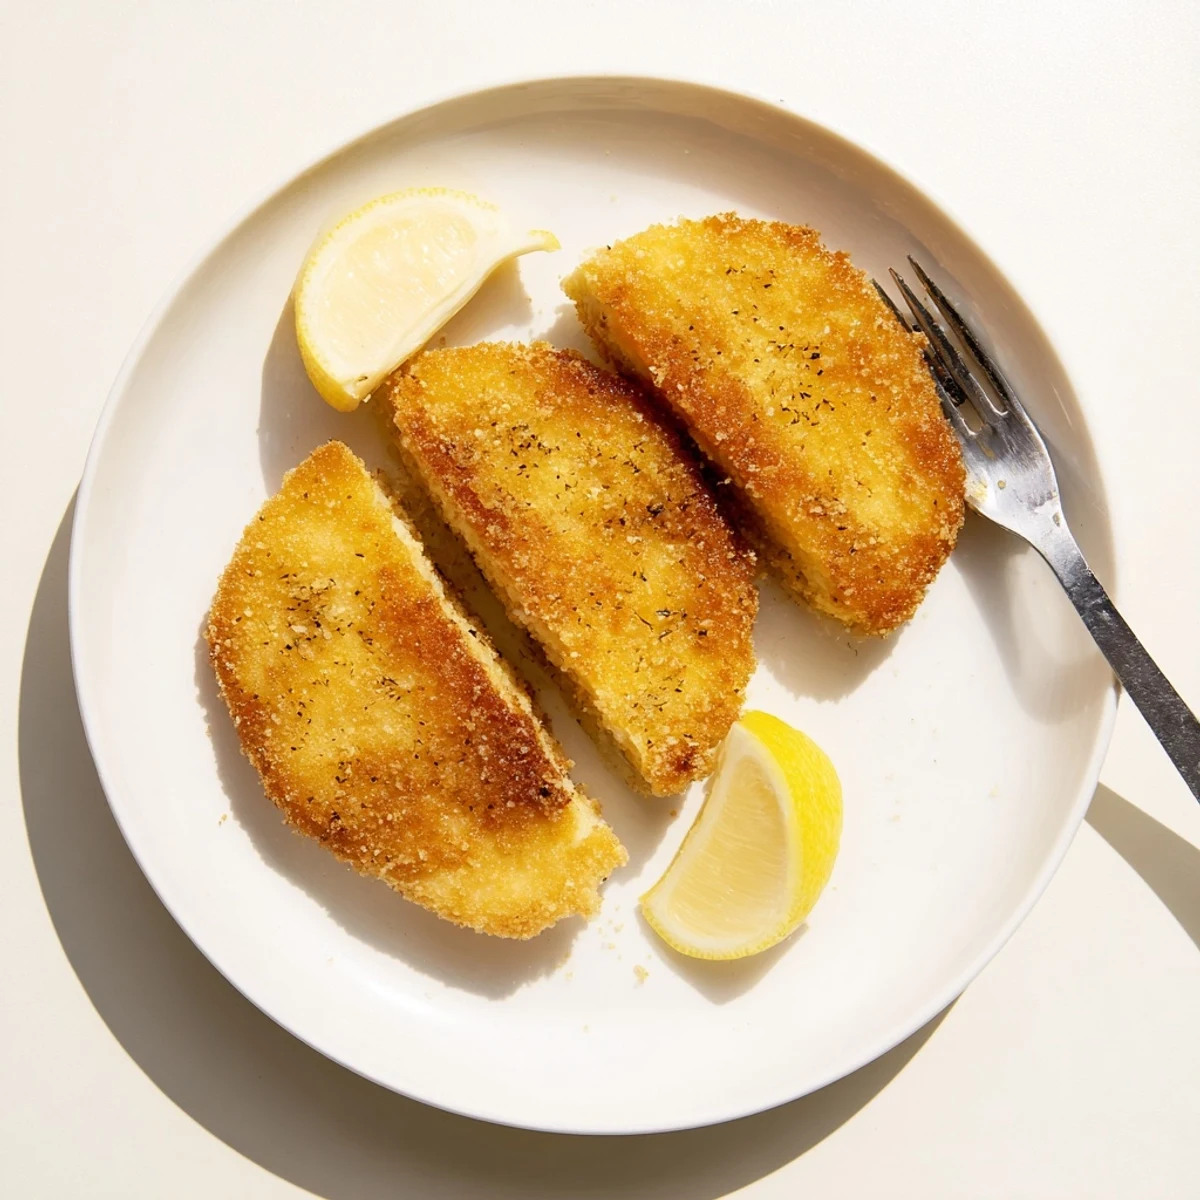
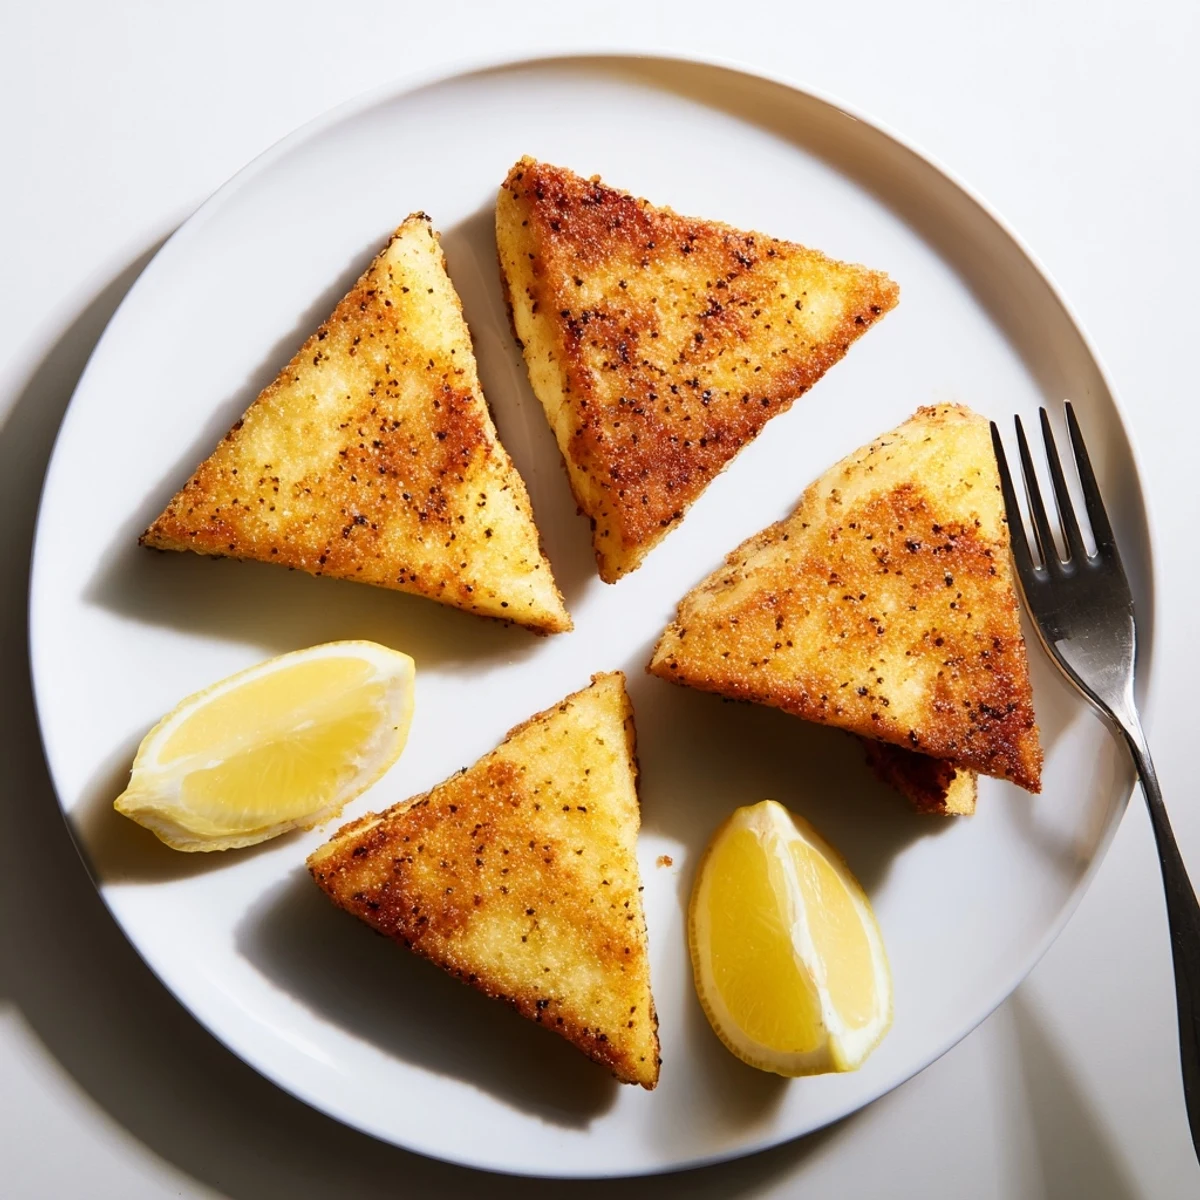
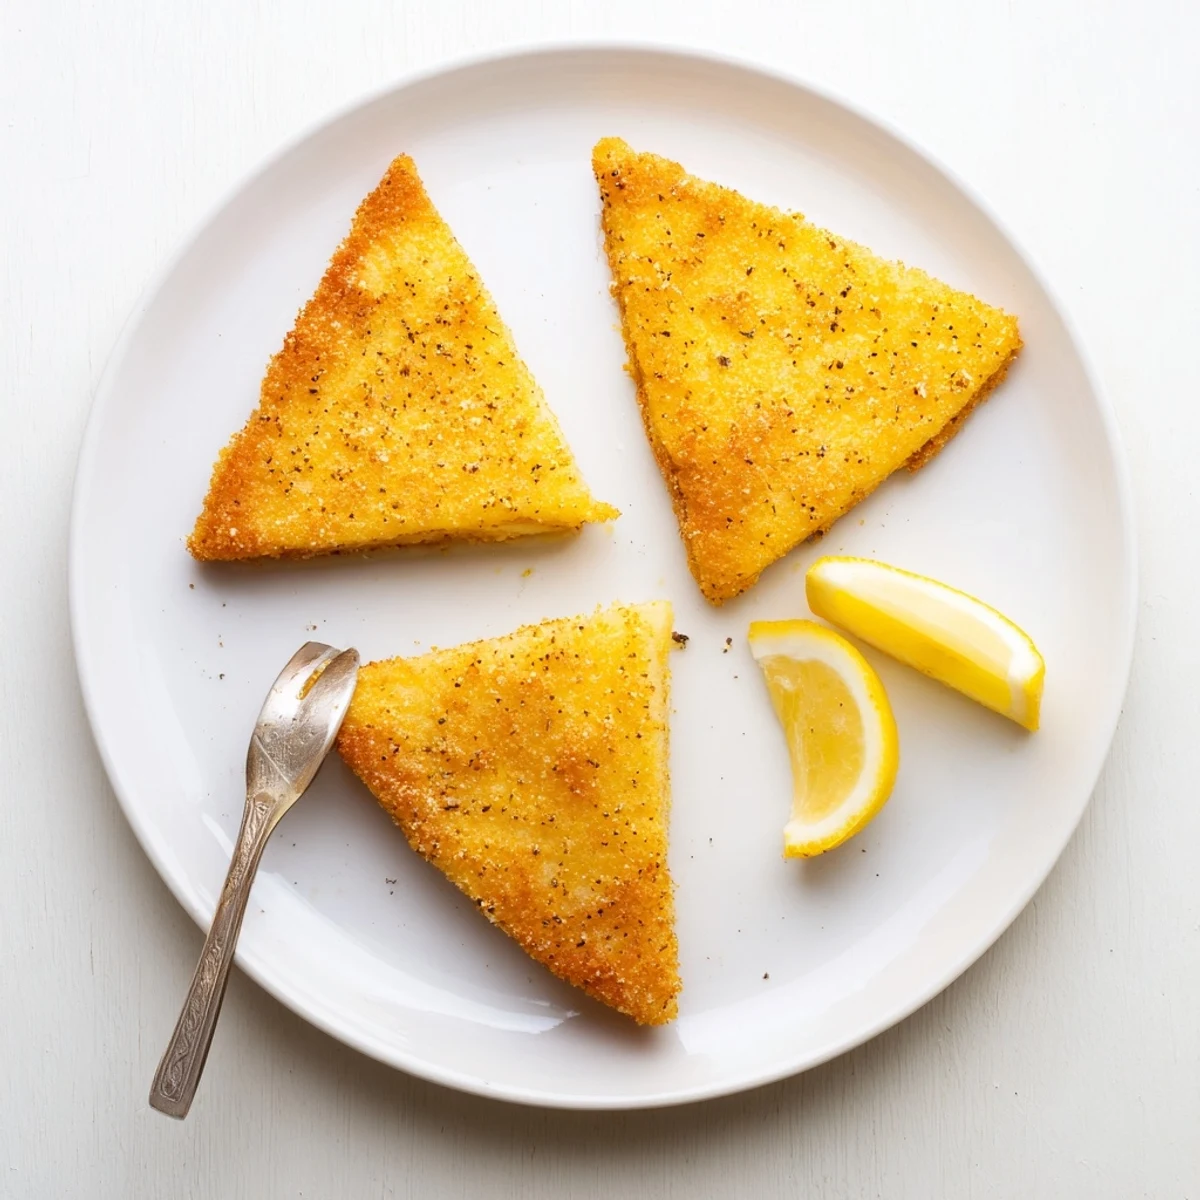
 Create this beloved Mediterranean appetizer with just five simple ingredients. Firm Greek cheese gets coated in seasoned flour, then pan-fried to golden perfection in olive oil. The result is irresistibly crispy outside with an indulgent melted center. Traditionally served with fresh lemon wedges for squeezing over the hot cheese, this dish comes together in only 20 minutes and makes an impressive starter or snack.
The first time I ordered Saganaki at a tiny Greek restaurant in Chicago, I actually gasped when the server brought it to the table. The cheese was bubbling and golden, sizzling dramatically in a small copper pan, and the smell was absolutely intoxicating. I watched him squeeze fresh lemon over the top and knew I had to recreate this magic at home.
Last summer I made this for a gathering of friends on my rooftop, and honestly, it stole the entire show. Everyone stood around the kitchen watching the cheese fry, and when I brought out the platter, people were literally reaching in before I could set it down. Now its the appetizer I get requested to bring to every single potluck.
Ingredients
- Firm Greek Cheese: Kefalotyri is traditional with its sharp salty bite, but Graviera brings a wonderful nuttiness and Halloumi works beautifully too. Just make sure whatever you choose is firm enough to hold its shape in hot oil.
- Flour: The coating creates that essential crispy shell. I keep gluten-free flour on hand since it works perfectly and everyone can enjoy it.
- Black Pepper: A fresh grinding adds a subtle warmth that cuts through the richness.
- Extra Virgin Olive Oil: This is worth using the good stuff because youll taste it. Greek olive oil has this grassy peppery quality that makes everything taste more authentic.
- Lemon Wedges: Absolutely non-negotiable. The acid brightens everything and makes the cheese sing.
Instructions
- Prepare the Cheese:
- Cut your cheese into slices about half an inch thick and pat them completely dry with paper towels. Any moisture on the surface will make the coating soggy instead of crisp.
- Set Up Your Coating Station:
- Spread the flour on a plate and grind fresh pepper over it. Dredge each cheese slice, pressing gently to help it adhere, then shake off any excess flour.
- Get the Oil Hot:
- Heat the olive oil in a non-stick skillet over medium-high heat. You want it shimmering but not smoking, about 350 degrees if you have a thermometer handy.
- Fry to Perfection:
- Carefully place the cheese slices in the hot oil and let them cook undisturbed for 1-2 minutes until golden. Flip and cook the other side until equally crisp and the cheese is starting to soften inside.
- Serve Immediately:
- Transfer the fried cheese to paper towels to drain briefly, then onto your serving platter. Bring those lemon wedges to the table and let everyone squeeze their own.
 Save Pin
 My grandmother used to say that food meant to be shared tastes better, and this cheese is the perfect example. Something magical happens when people gather around a platter of hot, crispy cheese, reaching in, laughing, squeezing lemon over their pieces. Its not just an appetizer, its an experience.
Choosing the Right Cheese
I have tried making Saganaki with every cheese I could find, and the firmness really does matter. Soft cheeses melt too quickly and you end up with a delicious mess rather than structured slices. The traditional Greek cheeses aged just enough to hold their shape while still becoming incredibly creamy inside.
The Oil Temperature Secret
Getting that perfect golden crust without burning the coating is all about temperature control. I like to test with a tiny pinch of flour first, if it sizzles immediately and turns golden in about 30 seconds, the oil is ready. Too slow and the cheese will absorb too much oil, too fast and everything burns before the cheese heats through.
Serving Suggestions and Variations
While lemon is classic, I have discovered some wonderful additions over the years. A drizzle of honey creates this incredible sweet-salty combination that keeps people coming back for more. Fresh oregano or thyme sprinkled right after frying adds an herbaceous brightness.
- Try crumbling some dried Greek oregano over the cheese before serving
- A thin drizzle of honey turns this into something almost dessert-like
- Pair with a crisp white wine like Assyrtiko or a cold glass of ouzo
 Save Pin
 This is the kind of recipe that makes people feel special, like you put in tremendous effort when really it comes together in minutes. Sometimes the simplest food, made with care and shared generously, is exactly what we need.
Recipe FAQs
- → What type of cheese works best for frying?
-
Kefalotyri and Graviera are the traditional Greek choices, offering the perfect balance of saltiness and melting properties. Halloumi or firm feta make excellent alternatives—just ensure whichever cheese you select can withstand high heat without completely losing its shape.
- → How do I prevent the cheese from melting too much?
-
Pat the cheese slices thoroughly with paper towels before coating to remove excess moisture. Use firm, aged cheeses rather than soft varieties, and avoid overcrowding the pan during frying. The flour coating also helps create a protective barrier.
- → Can I make this ahead of time?
-
For optimal texture, serve immediately after frying while the coating is at its crispest. You can prep the cheese slices and coat them in flour up to an hour before cooking—store them layered between parchment paper in the refrigerator until ready to fry.
- → What's the best oil for frying?
-
Extra virgin olive oil is traditional and adds authentic Mediterranean flavor. However, it has a lower smoke point, so monitor the heat carefully. Alternatively, use a neutral high-heat oil like avocado or grapeseed oil for a more neutral taste profile.
- → What should I serve alongside?
-
Fresh lemon wedges are essential for that classic bright finish. This pairs beautifully with crusty bread, olives, and tzatziki for a complete meze spread. Chilled white wine or ouzo makes the perfect beverage accompaniment.
- → Is this suitable for gluten-free diets?
-
Yes, simply substitute the all-purpose flour with a certified gluten-free flour blend. The coating technique remains exactly the same, and the texture will be virtually identical to the traditional version.