 Save Pin
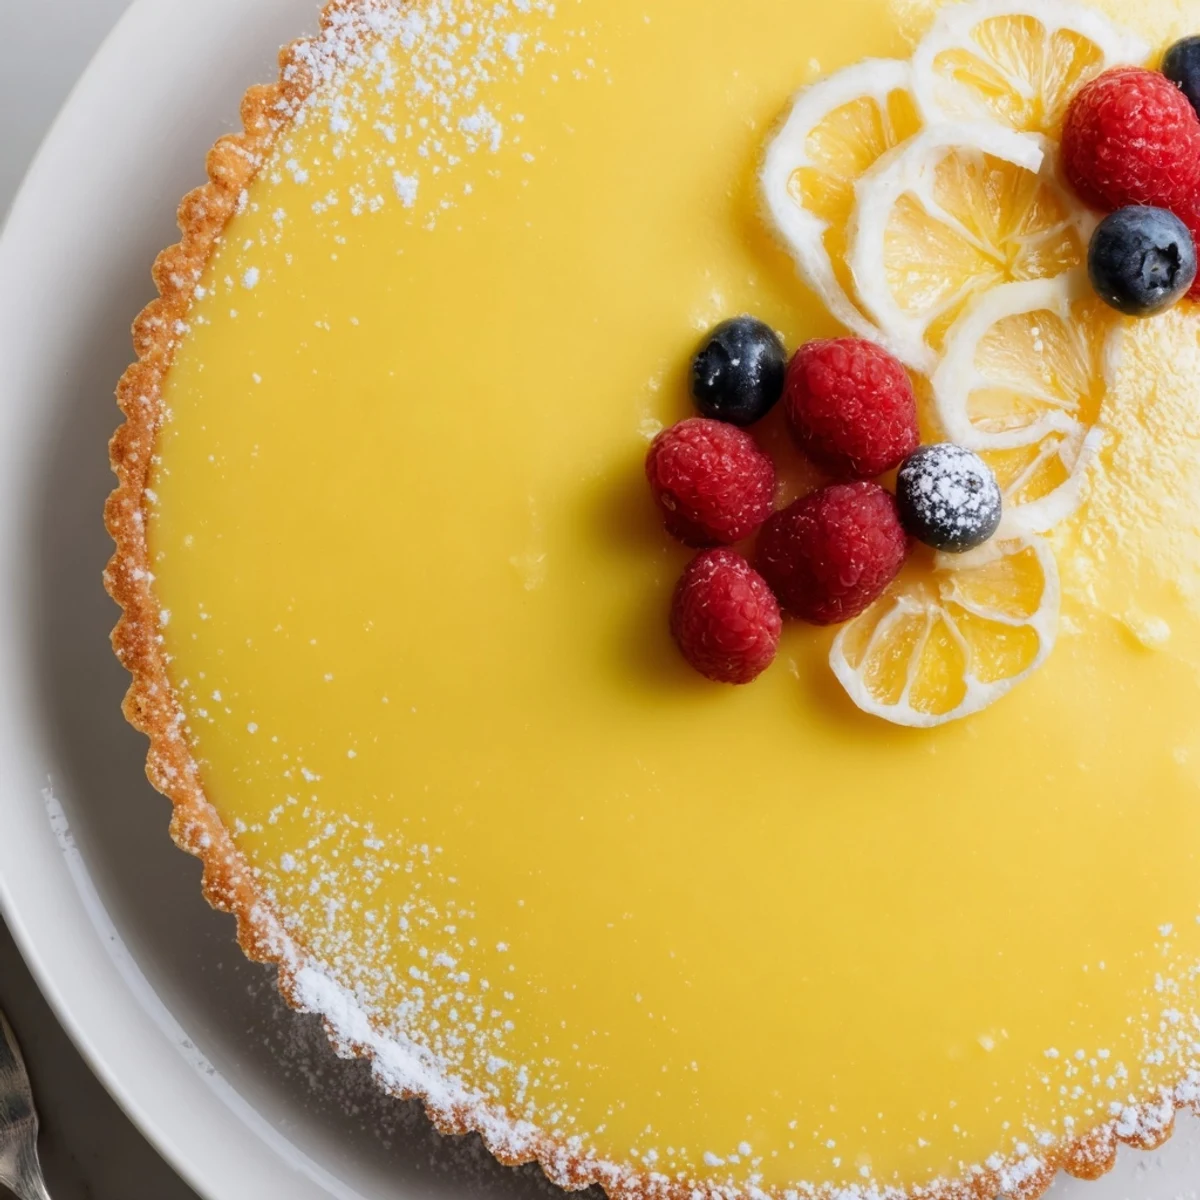
 This luscious tart pairs a crisp, buttery shortcrust with a silky lemon custard—zest and fresh juice lend bright acidity while egg yolks and cream create a smooth, set filling. Blind-bake the shell until golden, then pour the warm filling and bake gently at 300°F until edges are set with a slight jiggle at center. Cool fully and chill for a firm slice. Garnish with powdered sugar or berries; serve chilled.
The sharp, citrusy perfume of lemon always takes over my kitchen whenever I make this tart. I once baked it after a long week, seeking something bright to counteract endless gray skies, and ended up grinning at the first silky forkful. The crisp crust yielded with just the right snap, and instantly I felt revived. Somehow, even the act of zesting lemons seemed to breathe a little more light into my day.
A few months ago, I brought this tart along to a friend's birthday picnic, tucked between stacks of blankets and thermoses. By the end of the afternoon, every crumb had vanished and people were trading stories about the best desserts they'd ever tasted. All that remained on the table was a dusting of powdered sugar and a circle of lemony happiness.
Ingredients
- All-purpose flour: Use the scoop-and-level method so the crust isn't tough; I learned this after my first overly dense attempt.
- Powdered sugar: It adds a subtle sweetness and gives the tart shell tenderness—don't swap for granulated here.
- Salt: Just a pinch brings out all the other flavors in the dough.
- Unsalted butter (cold and cubed): Cold butter is key to a flaky crust; I like to cut it into cubes ahead of time and chill it extra.
- Egg yolk: This enriches the dough and helps hold it together.
- Cold water: Add slowly until the dough just holds—my first time I went overboard and learned less is more.
- Heavy cream: Gives the filling its luscious, velvety body—don’t substitute with milk.
- Granulated sugar: Sweetness to balance the lemon’s tartness.
- Large eggs and extra yolks: These thicken and set the filling without turning it curd-like—gentle whisking prevents overmixing.
- Lemon zest and fresh lemon juice: Zest lifts up the citrus notes; use fresh lemons for full flavor and avoid bottled juice.
- Pinch of salt: Just enough to round out the lemon’s brightness in the custard.
- Powdered sugar, fresh berries, or candied lemon slices (garnish optional): A flourish for beauty and a hint of extra sweetness—totally up to you, I skip them on lazy Sundays.
Instructions
- Get the oven ready:
- Preheat to 350°F so your tart bakes evenly from the first moment it goes in.
- Blend the crust:
- Add flour, powdered sugar, and salt into a food processor, then scatter the cold butter cubes in; pulse until the dough is like damp sand and clumps together with a squeeze.
- Form and chill the dough:
- Add egg yolk and a couple tablespoons of cold water, pulsing until just combined; if it doesn't come together, drip in a touch more water.
- Shape and rest:
- Pat the dough onto a floured counter, gently shape into a disk, wrap it, and chill—this time lets the gluten relax, making rolling easier later.
- Roll and press:
- Roll cold dough to about ⅛ inch thickness, then ease it into your tart pan, trimming and patching if needed; prick the base with a fork, then freeze briefly to help it hold its shape.
- Blind bake:
- Line the crust with parchment and fill with pie weights or beans; bake until the edges look set, remove weights, then finish baking until lightly golden and crisp—don't skip this or you'll have a soggy bottom.
- Cool and lower the heat:
- Drop the oven temperature to 300°F, and let the crust cool slightly while you make the filling.
- Whisk the creamy lemon filling:
- Whisk cream, sugar, eggs, extra yolks, lemon zest, juice, and salt together until smooth and sunny; I love the scent that rises at this point.
- Bake the tart:
- Pour filling into the warm crust and bake until the edges are set but the center still jiggles just a bit when you nudge the pan.
- Chill out:
- Let the tart cool on a rack, then refrigerate for at least an hour—this is when the filling firms up to that perfect creamy texture.
- Garnish and serve:
- Right before serving, dust with powdered sugar or add berries if you like for color and extra sass.
 Save Pin
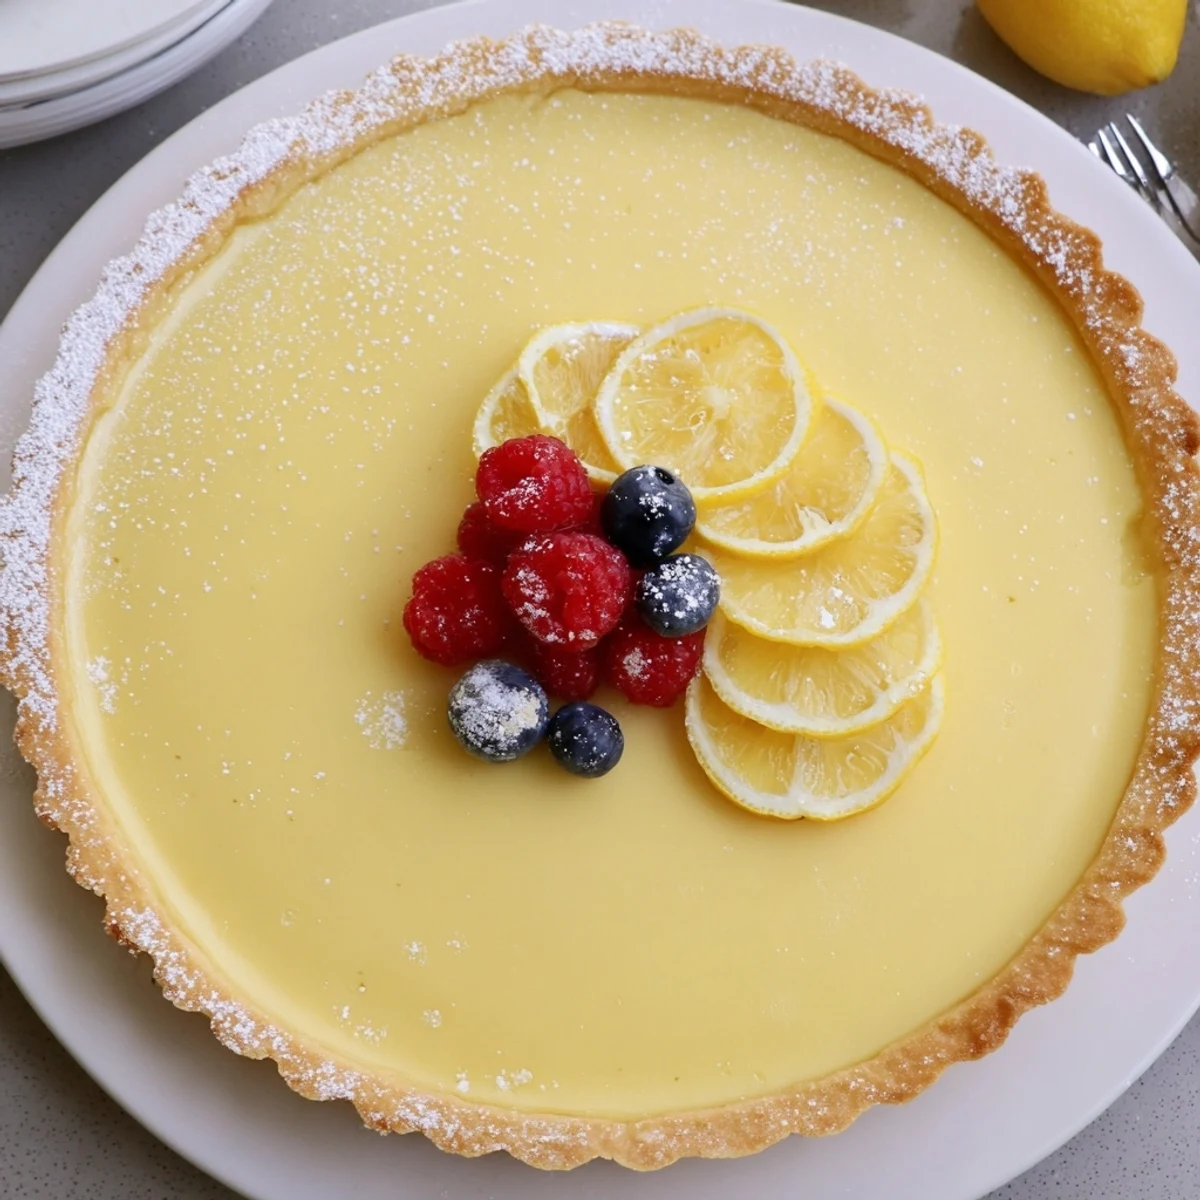
 It wasn’t until I watched someone’s eyes light up at their first bite that I truly understood the magic of homemade lemon tart. Suddenly, this dessert became a little celebration all by itself, more than the sum of tang, cream, and crunch.
Troubleshooting Crust and Filling
The first few times I tried this recipe, I wrestled with dough that cracked or filling that wouldn't quite set. Now, I rest the dough well and resist overbaking, and both parts come together so much more easily. If you end up with a little crack or too much jiggle, just dust with sugar and serve with a story—it’s still delicious.
Choosing the Best Lemons
I once grabbed store lemons only to find they were less aromatic and zingy than those from the weekend market. Ever since, I look for fruit that's heavy for its size with a glossy skin. More zest means more fragrance, and fresh juice really does make a difference in the tart’s balance.
Making It Your Own
This tart is a forgiving canvas for add-ons or twists—I've mixed in a splash of vanilla, stirred in a pinch of cardamom, or swapped the garnish with whatever fruits are in season.
- Freeze-dried raspberries add a playful crunch on top.
- Decorate with thin lemon slices for a rustic look.
- If you make it a day ahead, the flavor deepens beautifully.
 Save Pin
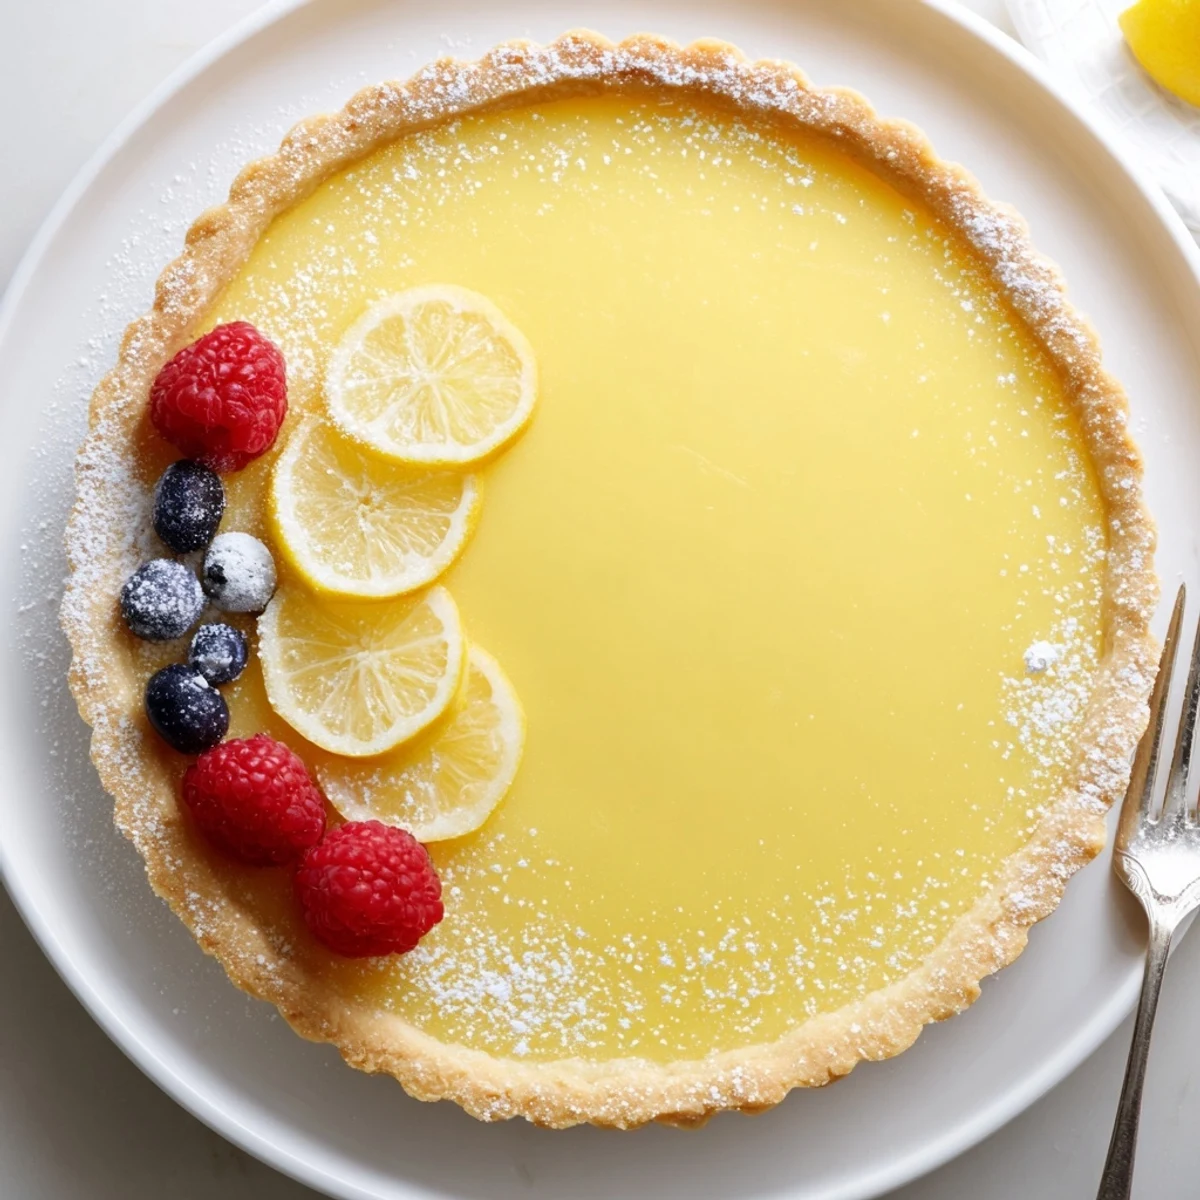
 No matter the occasion, a slice of this creamy lemon tart manages to bring everyone together around the table. I hope it brightens your day as much as it has mine.
Recipe FAQs
- → How do I prevent a soggy crust?
-
Chill the dough before rolling, dock the base, freeze the lined pan briefly, and blind-bake with parchment and weights until the surface is dry and edges are golden. This seals the crust and keeps the filling from making it soggy.
- → How can I tell when the lemon filling is set?
-
The filling should look set around the edges but retain a slight, gentle jiggle in the center. It will firm up as it cools and after refrigeration; avoid overbaking to keep a silky texture.
- → Can I make a gluten-free crust?
-
Yes—use a 1:1 gluten-free flour blend and chill the dough well. You may need slightly less liquid; press the dough into the pan if it becomes fragile. Blind-bake as directed, watching for a golden color.
- → What’s the best way to zest and juice lemons?
-
Use a microplane for fine zest and avoid the bitter white pith. Roll lemons on the counter to loosen juices, then cut and strain fresh juice to remove seeds. Fresh zest and juice give the brightest flavor.
- → How should I store leftovers and how long do they keep?
-
Cover and refrigerate slices for up to 3–4 days. For longer storage, freeze individual slices wrapped tightly; thaw in the fridge. Note texture may change slightly after freezing.
- → Any garnish or serving tips?
-
Dust with powdered sugar just before serving or top with fresh berries or thin candied lemon slices. Chill thoroughly for clean slices and pair with a glass of sparkling wine or a sweet white for balance.