 Save Pin
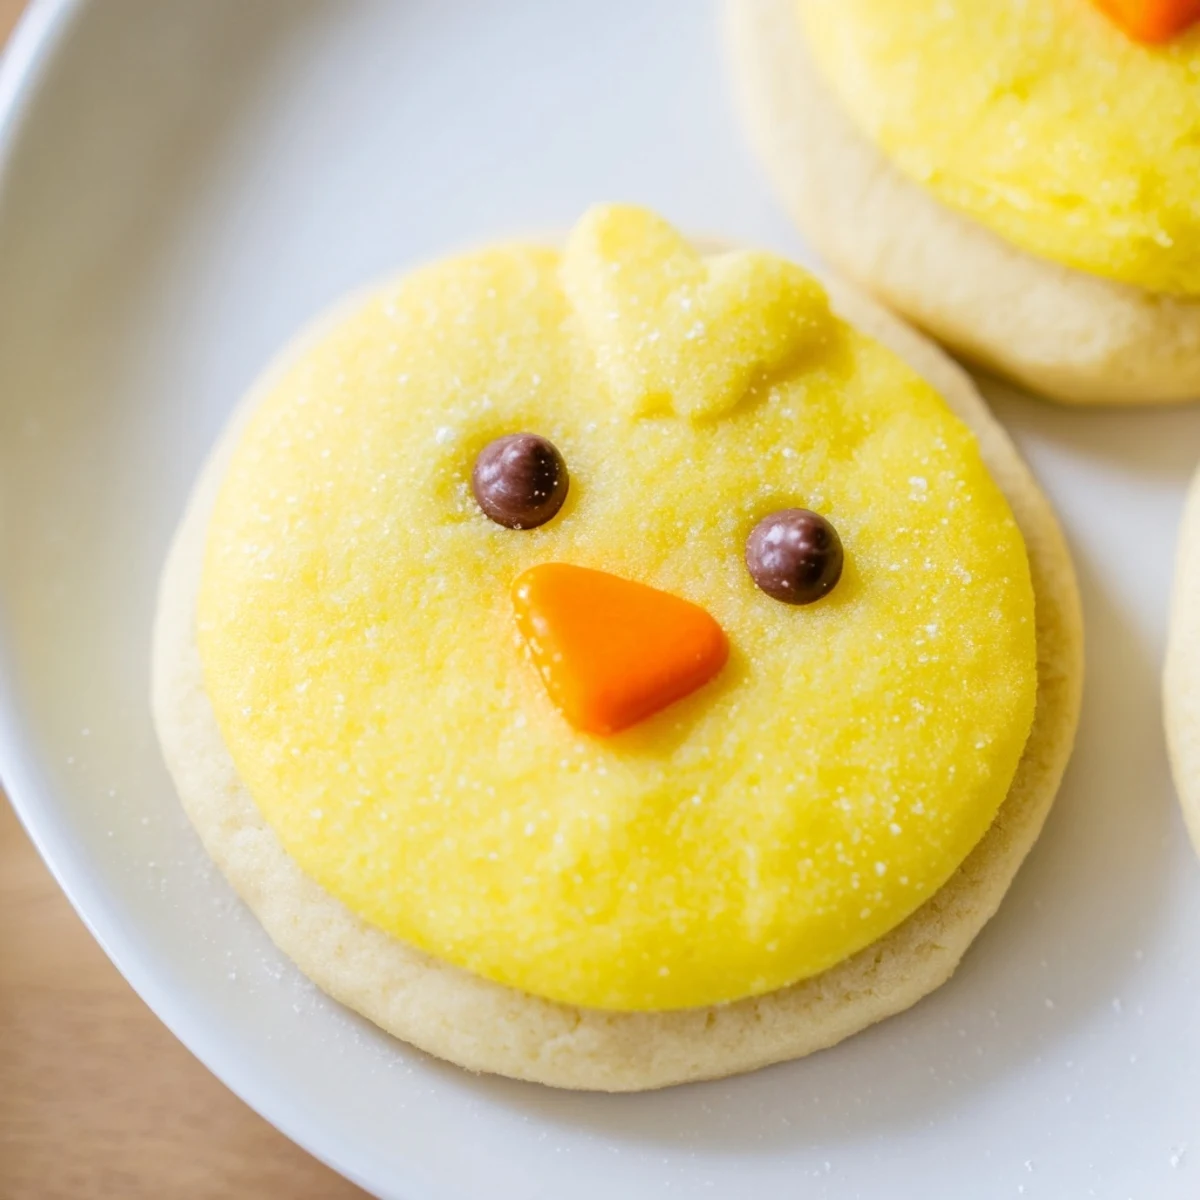
 These delightful chick-shaped sugar cookies bring charm to any spring gathering. The buttery vanilla dough gets its sunny hue from yellow food coloring, while a simple powdered sugar glaze adds shine. Perfect for beginners, these treats come together in just 30 minutes with basic pantry ingredients.
Creating the chick shape is simple: form one ball for the body and a smaller ball for the head, then gently press together. Once baked and cooled, add personality with black gel or mini chocolate chips for eyes and orange decorating gel for beaks. The result is an adorable dessert that kids and adults will love.
For added flair, incorporate sprinkles or colored sugars into the dough or on top. A touch of lemon zest in the dough brightens the flavor profile beautifully. These cookies store well and can be made ahead for parties, making them perfect for Easter, baby showers, or any spring occasion.
Last spring my niece begged me to make something special for her birthday, and when I suggested these little chick cookies, she literally jumped up and down. We spent the whole afternoon covered in flour and yellow food coloring, laughing every time one of our chicks came out looking a bit lopsided. That chaotic happy kitchen memory is exactly why these cookies mean so much to me now.
I brought a platter to our neighborhood potluck and watched the children swarm the dessert table like hungry little birds. One mom whispered that her usually picky toddler had eaten three of them, which is basically the highest compliment a cookie can receive.
Ingredients
- All-purpose flour: The structure builder here, measure carefully because too much flour makes these tender cookies turn tough
- Unsalted butter: Room temperature is non negotiable for that perfect creamed texture with sugar
- Granulated sugar: Sweetens and creates those delightfully crisp edges while keeping centers soft
- Yellow food coloring: Gel coloring gives the most vibrant hue without adding extra liquid to your dough
- Powdered sugar and milk: Whisk these together for a quick glaze that adds shine and a little extra sweetness
Instructions
- Prep your kitchen:
- Preheat oven to 350°F and line two baking sheets with parchment paper so nothing sticks and cleanup is effortless
- Mix the dry team:
- Whisk flour baking powder and salt in a bowl so everything is evenly distributed before it meets the butter
- Cream butter and sugar:
- Beat butter and sugar until pale and fluffy then add egg and vanilla until the mixture looks silky smooth
- Bring it together:
- Gradually mix in dry ingredients until dough forms then work in yellow food coloring until the color is consistent throughout
- Shape your chicks:
- Roll dough into 1 inch balls, place one ball as the body and a smaller ball on top for the head, pressing gently so they stick together
- Bake until perfect:
- Bake for 8 to 10 minutes until edges are barely golden because these continue cooking slightly on the hot pan
- Add the faces:
- Mix powdered sugar with milk for glaze, brush on cooled cookies if you want extra shine, then add black eyes and orange beaks
 Save Pin
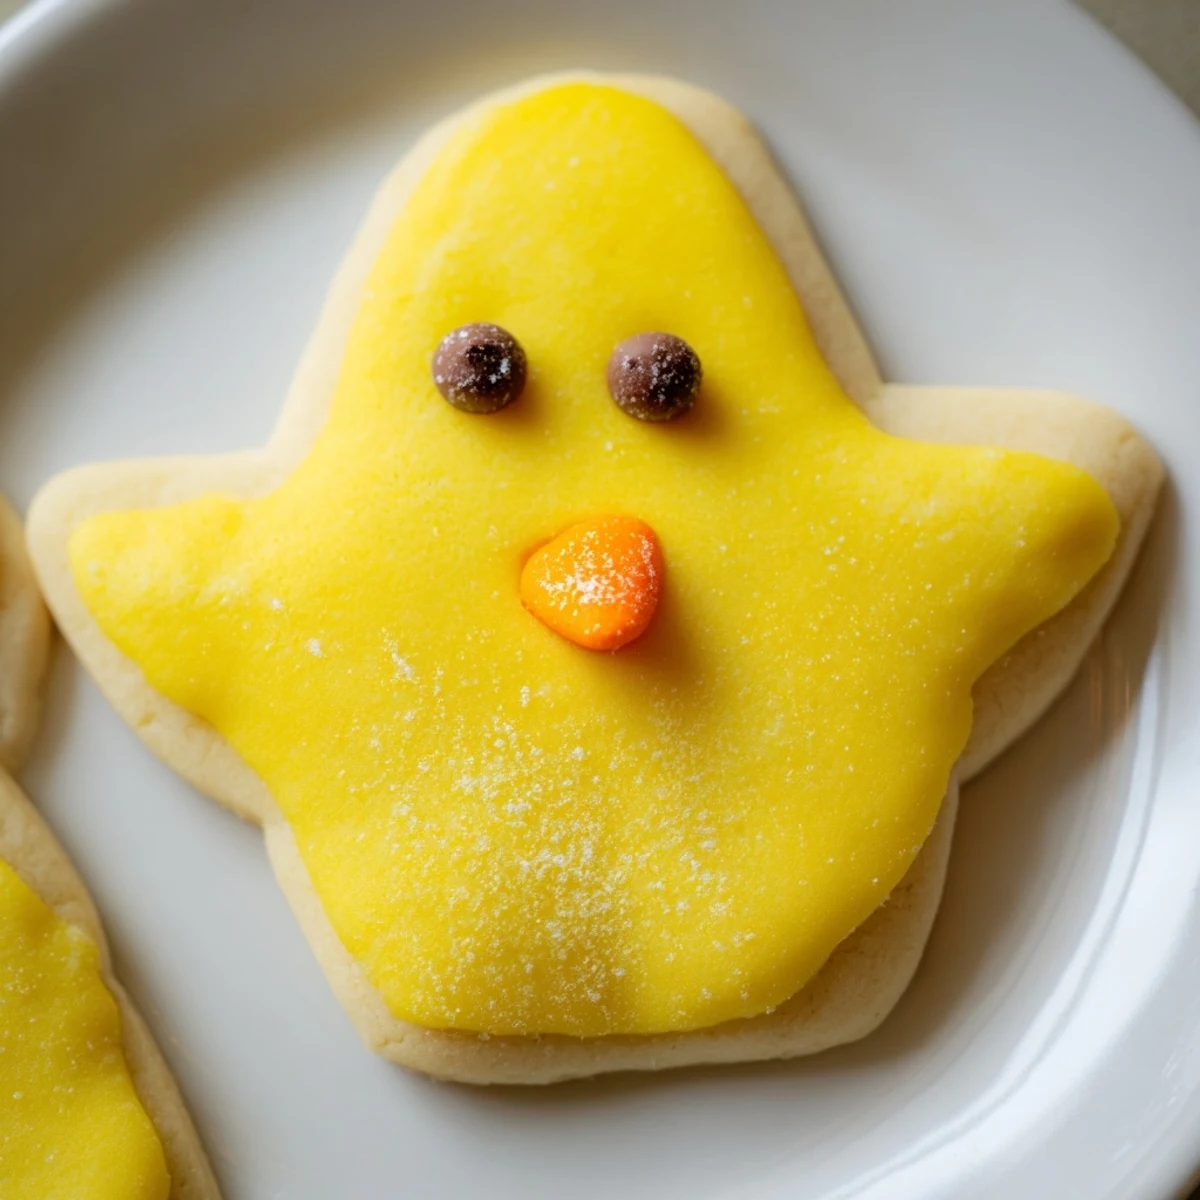
 My daughter now requests these for every school event and has perfected the art of making each chick have its own personality. Some have wonky eyes, others have grumpy beaks, and somehow they are all adorable.
Making Them Ahead
You can roll and shape the dough balls, freeze them on a baking sheet, then transfer to a bag for up to three months. Bake straight from frozen adding two minutes to the baking time, which is exactly how I survive the holidays without losing my mind.
Decoration Variations
Sometimes we skip the glaze and roll the warm cookies in colored sugar for extra sparkle. Lemon zest in the dough creates a bright spring flavor that adults secretly love just as much as the kids do.
Storage Tips
These cookies stay fresh in an airtight container for up to five days, though they have never lasted that long in my house. If you need to stack them for storage or gifting, let the glaze completely harden or the faces will smudge together into one big yellow blob.
- Place parchment paper between layers if you are packing them in boxes
- Decorate just a few hours before serving so the gel details stay crisp
- Keep them away from direct sunlight or the colors might fade
 Save Pin
 There is something so joyful about pulling a tray of these sunny little chicks from the oven and watching faces light up around the table. Hope they bring as much happiness to your kitchen as they have to mine.
Recipe FAQs
- → Can I make the dough ahead of time?
-
Yes, refrigerate the dough for up to 2 days. Let it soften slightly at room temperature before shaping. This actually makes handling easier and prevents spreading during baking.
- → What if I don't have food coloring?
-
The cookies work perfectly plain. Alternatively, use natural yellow from saffron infusion or turmeric powder, though these may slightly alter the flavor. White chicks with colorful decorations look equally charming.
- → How do I get smooth, round chick bodies?
-
Roll the dough between lightly floured palms. If the dough becomes sticky or warm, chill for 15 minutes. Consistent sizing ensures even baking—aim for 1-inch body balls and slightly smaller head portions.
- → Can I freeze these cookies?
-
Absolutely. Freeze undecorated baked cookies for up to 3 months. Thaw at room temperature before adding eyes and beaks. The glaze and decorations are best applied after thawing for the freshest appearance.
- → What's the best way to store decorated cookies?
-
Keep in an airtight container at room temperature for 3-5 days. Place parchment paper between layers to prevent smudging. Avoid refrigeration as the glaze may become sticky and the decorations can run.
- → Can I use this dough for other shapes?
-
Certainly. This versatile sugar cookie dough works beautifully for any shape. Skip the coloring for classic white cookies, or customize with different colors and decorations for various occasions throughout the year.